Learn How to Make a Parchment Cone
Every now and then I find a parchment cone to be extremely helpful. This is usually when I want to write “Happy Birthday” or “Congratulations” on a celebratory cake or when making something like our Spider Webs Cupcakes.
Why Make a Parchment Cone?
You can use a zip-top plastic bag but they are not as easily manipulated and the decorative results of whatever you are piping are not as crisp. In my pre-FODMAP days I spent decades working in bakeries, writing dessert oriented cookbooks and developing sweet recipes, so making a parchment cone is second nature to me.
That said, I am always struck at how difficult it is to explain just in words, so we have brought your images!
Take a few moments to learn this technique to add to your arsenal and you will always have the knowledge at hand.
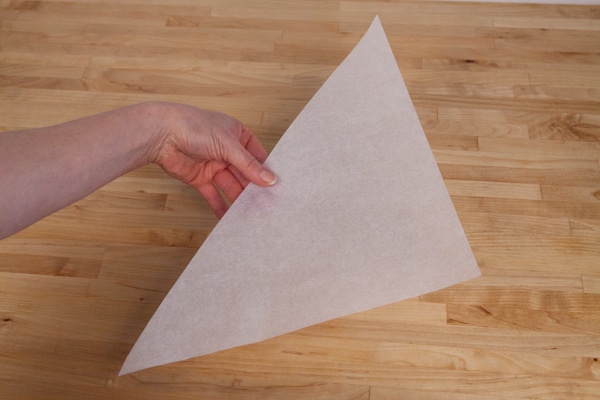
To make a parchment cone, cut a triangle out of parchment paper with one longer side. Shorter sides should be about 8-inches (20 cm) and the longer side, about 12-inches (30.5 cm). Directions are for right-handed folks; please reverse for lefties!
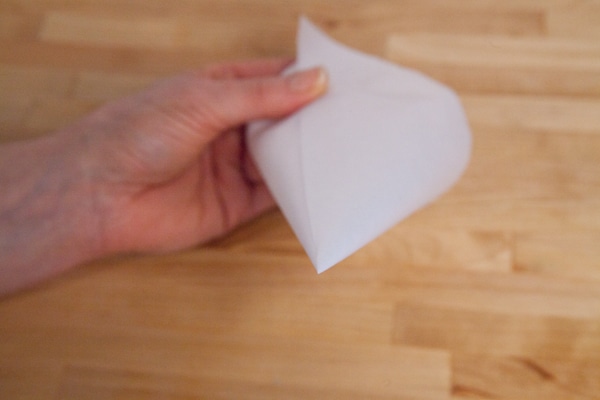
Hold the center of the long side with your left thumb and index finger as seen above.
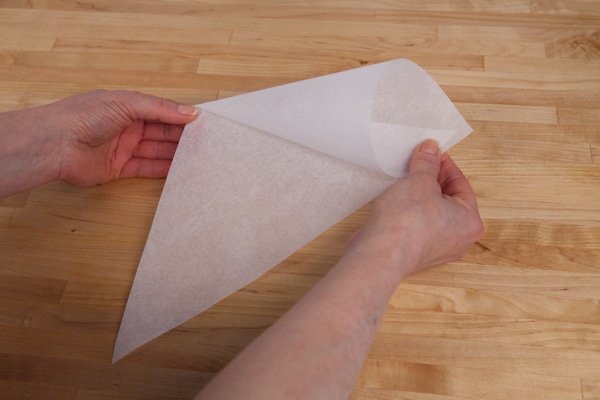
Using your right hand, take the top corner and roll it towards you, in towards itself. Align that top tip with the corner on the right. The cone will begin to form.
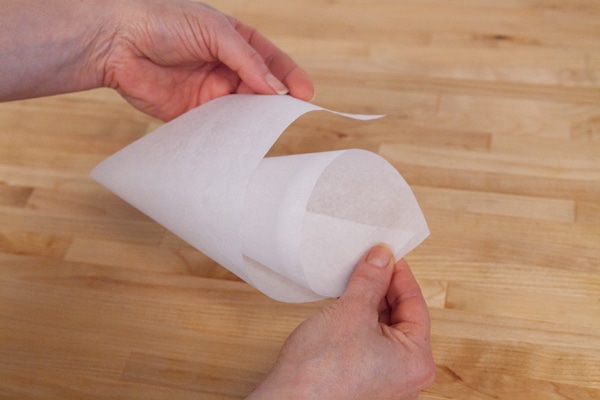
Let go with your left hand and now hold these two right-side corners together with your right hand. Repeat with the bottom corner, rolling it up and aligning it with the right-hand corner (using your left hand).
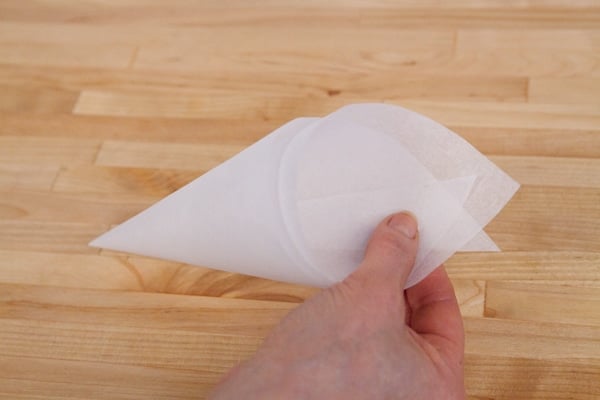
Now use both hands to jiggle the aligned corners back and forth so that the point of the cone tightens. Above, you can see a tip that is nice and tight and ready to receive whatever you want to use with the cone.
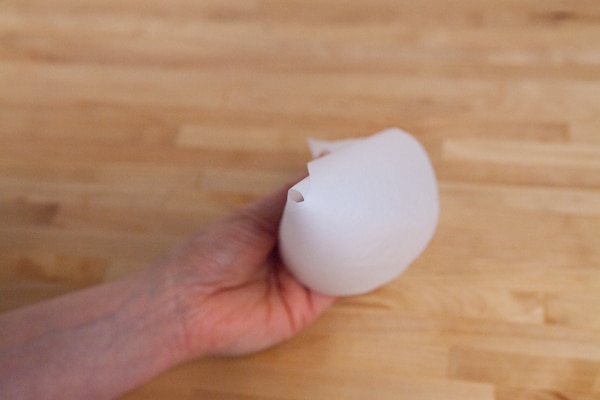
If it looks like this above, with an open tip, keep manipulating the corners until the tip closes and tightens.
Now you are ready to fold down the open side a few times to seal the cone shape into place and the cone is ready to fill. Do not fill it more than one-third to halfway.
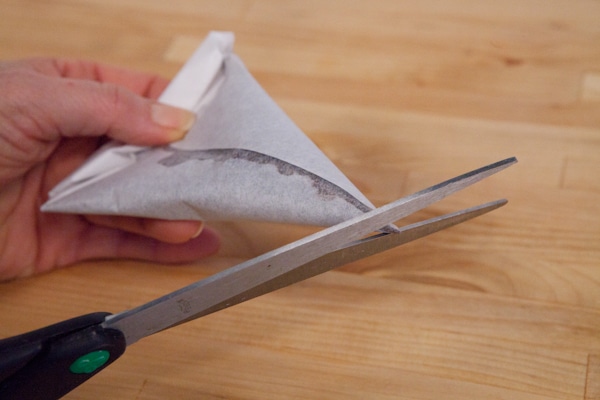
Fold the open side closed, then use a scissors to snip a very small hole from the tip; you can always make the hole larger, if needed.
VIDEO COMING!
