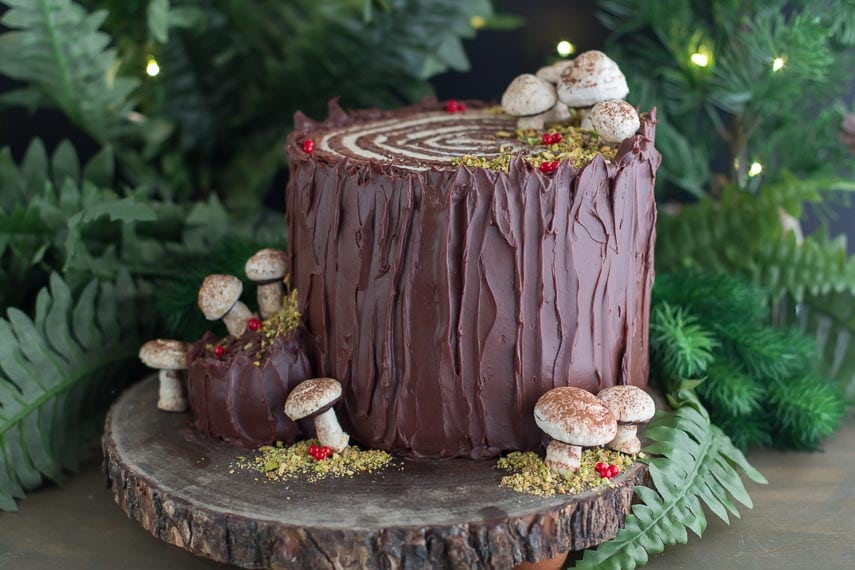
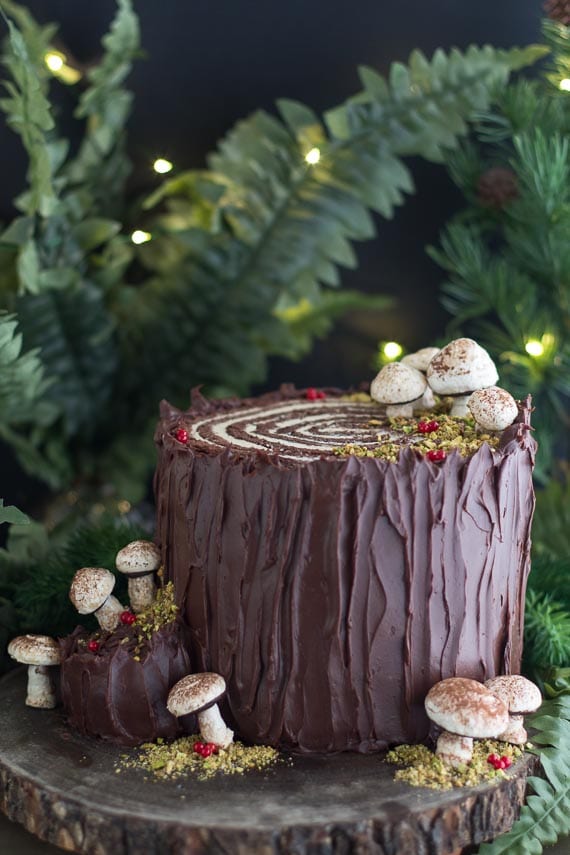
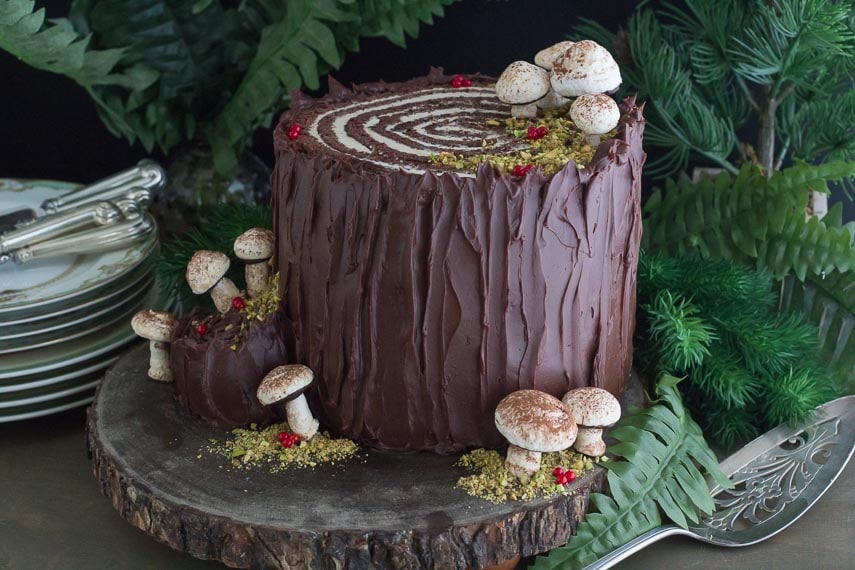
Our 2018 Low FODMAP Souche de Noël or “Christmas Stump”
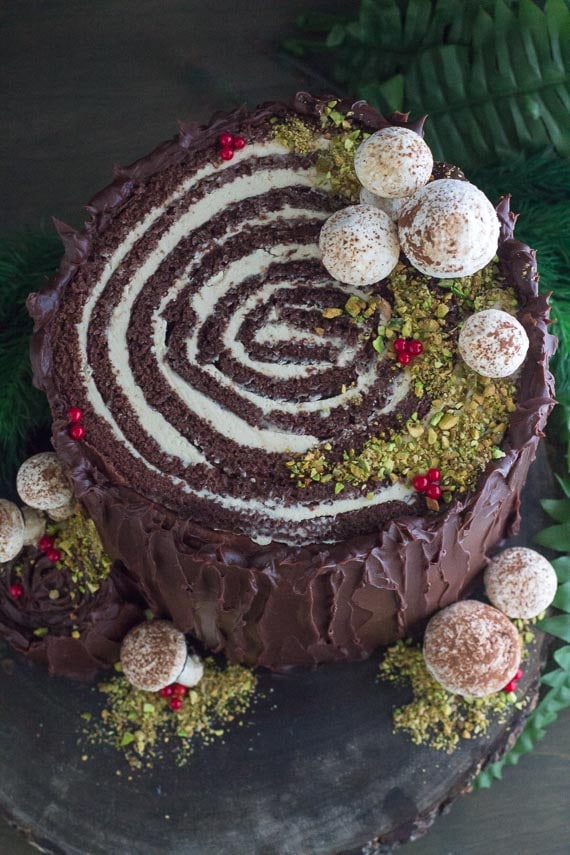
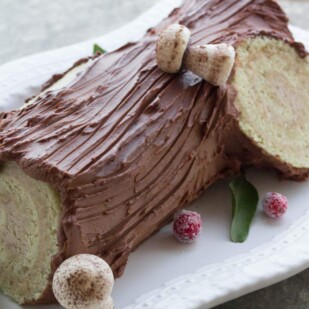
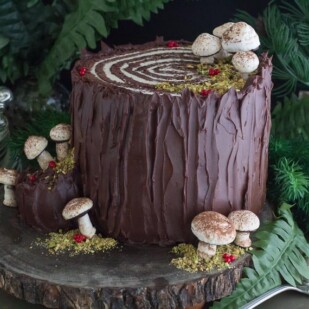
Every year for as long as I can remember I have made a traditional French Bûche de Noël, which is basically an edible Yule log or Christmas log. This time I went with a stump! I give you a Low FODMAP Souche de Noël!
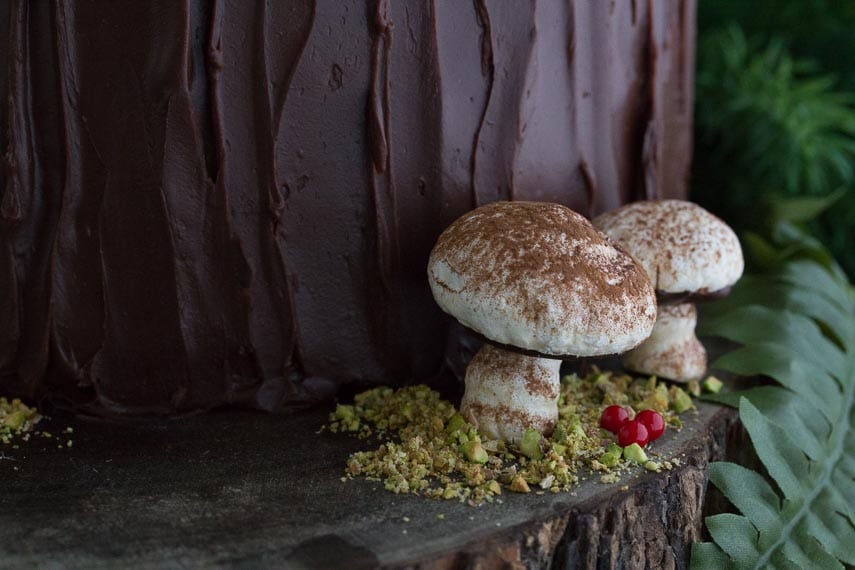
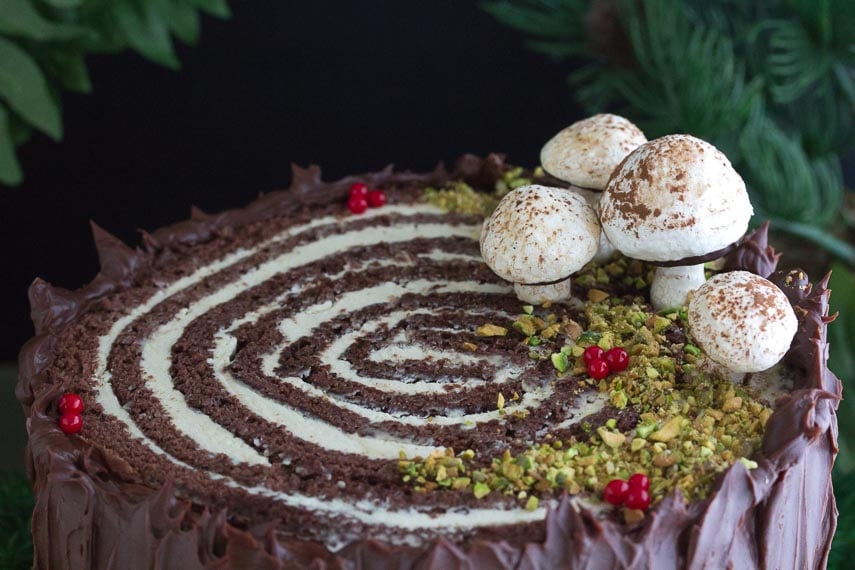
Stump or log, the trompe l’oeil is always fun and you get to push the visual pun even further with Meringue Mushrooms.
This year I decided to turn the cake on its end, literally, which is how our Souche de Noël, or holiday “stump”, was born.
Chocolate cake, espresso buttercream and chocolate ganache all rolled up and presented as a slice of the forest. (You might also like to see our Chocolate Chestnut Bûche de Noël and our Frozen Chocolate Peppermint version).
Tiny red candies that look like berries and green tinted chopped walnuts create “moss” and embellish the final look.
Mushrooms are Low FODMAP
Mushrooms are low FODMAP – particularly when they are oyster mushrooms OR made of egg whites and sugar, as in our Meringue Mushrooms.
They are an extra recipe to make, but they complete the scene of any buche de noel or Low FODMAP Souche de Noël.
These meringue cookies are also a Wilson family tradition and go hand-in-hand with the annual making of the Bûche de Noël, because hey, don’t downed tree logs need some mushrooms “growing” here and there?
The Meringue Mushrooms can stand alone as a lovely holiday cookie recipe. If kept dry, they can last quite a while, but they are notorious for attracting moisture, which will ruin them.
Cake & Buttercream
To create this Souche de Noël you need to plan.
The Meringue Mushrooms can be made days ahead, and stored in an airtight container.
You could make the buttercream the day before or even a week before, but you will then have to, what I call, “reconstitute” it and unless you are an experienced baker and feel very comfortable with Italian Meringue Buttercream, then I suggest you make it fresh and use it right away.
If you do want to make it ahead, read our article and watch our video about how to reconstitute and refresh Italian Meringue Buttercream.
Make the Chocolate Ganache the day before. Allow to sit at room temperature and it should be a perfect spreadable texture, when you need it. If not, no worries. The directions below will guide you.
The cake itself should be made right before using. I do recommend that you use a stand mixer and the directions are written for this approach. If you use a hand-held electric mixer, your mixing times will be longer; use the visual cues to guide you.
Once the cake portion is rolled up, it needs to chill, at least 4 hours and I like to refrigerate it overnight, then slather it with the ganache and decorate it the next day, which can be the day you serve it.
Once completely assembled, the cake can stand overnight.
Put meringue mushrooms in their places right before serving – or you can also have it out on display for several hours.
How Is This Low FODMAP?
Portions! Portions, portions, portions. It’s like the real estate mantra of location, location, and location! When following the low FODMAP diet one MUST pay attention to serving sizes.
In fact, if you are using a resource that does not detail serving sizes, then it cannot truly be considered a reputable low FODMAP reference.
Hopefully by now you have discovered that apples can be eaten on 20 to 25 gram amounts. That avocados can be enjoyed in 30 gram servings.
Does this make them a low FODMAP food? Not necessarily, but it does mean that these high FODMAP foods DO HAVE LOW FODMAP SERVINGS.
The same can be said of this recipe. All of the ingredients – every single one of them – have a low FODMAP serving size amount.
Once assembled, the cake should be served in small portions – but I promise you, this cake is so rich, you only need a small slice, whether you are FODMAPing or not.
Also, please note that you will most likely have ganache and buttercream leftover; I never use the full amounts. So this means that the amounts of ingredients in those recipes are not eaten and therefore there FODMAP content is less than you might think at first.
How Do You Cut This Cake?
Great question. I suggest two different approaches.
- Slice the stump horizontally into four separate rounds. Remove each round to a cutting board, then cut the round into wedges.
- Slice small wedges from the cake, which will be very tall wedges. Remove those wedges to a cutting board, laying them down on their sides, then cut each wedge crosswise into maybe 4 pieces.
Low FODMAP Souche de Noël (Christmas Stump)
This Low FODMAP Souche de Noël (Christmas Stump) is best attempted by experienced bakers - but if you are like me, a baker who has IBS and follows the diet - this recipe is going to thrill you. It is a challenge and fun to make. And then, when you serve it, EVERYONE is going to go gaga over it!
Low FODMAP Serving Size Info: Makes one big, impressive stump! Cut into small servings following my directions; you should get about 40 slices; 1 slice per serving
Ingredients:
- 1 batch Chocolate Ganache
Cake:
- 1 1/3 cups (194 g) low FODMAP, gluten-free all-purpose flour, such as Bob’s Red Mill Gluten-Free 1 to 1 Baking Flour
- 1 cup (90 g) confectioners’ sugar
- 1/2 cup (43 g) sifted Dutch-processed cocoa, plus extra
- 1 teaspoon baking powder
- 1 teaspoon salt
- 8 large eggs, at room temperature
- 1 cup (198 g) sugar
- 1 teaspoon vanilla extract
Buttercream:
- 1, 8-egg batch Italian Meringue Buttercream
- 1 tablespoon instant espresso powder
- 1 tablespoon vanilla extract
Décor:
- 8 Meringue Mushrooms
- 3 tablespoons very finely chopped walnuts
- Powdered green food coloring
- Wilton Sprinkles Jumbo Rainbow Nonpareils
Preparation:
-
For the Cake & Buttercream: Position racks in upper and lower thirds of oven. Preheat oven to 375°F/190°C. Line two rimmed half-sheet pans with parchment paper, then coat all of the edges thoroughly with nonstick spray; set aside.
-
Sift together the flour, confectioners’ sugar, ½ cup (43 g) cocoa powder, baking powder and salt into a large bowl; set aside.
-
Beat the eggs and sugar in stand mixer with balloon whip on high speed until light and fluffy. Beat in vanilla. Add the dry mix to the eggs in four batches, beating lightly between additions. Just combine until about two-thirds of the way mixed, then remove from the mixer and use a large silicone spatula to stir and fold the batter together until blended.
-
Divide batter between the two prepared pans into a thin even layer; use an offset spatula to smooth if needed.
-
Bake for about 12 to 15 minutes or until a toothpick inserted in the center comes out clean. Place pans on racks and allow to cool until cool to the touch.
-
Meanwhile, make your Italian Meringue Buttercream or reconstitute it until it is silky smooth. Dissolve the espresso powder in the vanilla and beat into the buttercream to make Espresso Italian Meringue Buttercream.
-
Place a very large piece of clean parchment paper on your work surface and dust very lightly with some cocoa. Unmold one of the chocolate cakes onto the parchment, peel off the parchment that it was baked on and discard that.
-
Spread a thin layer, about 1/4-inch (6 mm) thick, of Espresso Italian Meringue Buttercream all over the cake, from edge to edge. Cut the cake in half, lengthwise. Use a ruler, because it is important that the pieces are even with one another.
-
Starting at one short end, roll the strip of cake up tightly. Now take that roll (this is the center of your stump) and situate it so that the end of the first roll lines up with the end of the second strip and continue to create the stump, rolling up the cake.
-
Repeat with second cake. Once all four strips of cake have been rolled around the stump it should be nice and fat, placed on its cut end, and about 7 to 8-inches across. Wrap up well with plastic wrap and chill for at least 4 hours. I like to give it an overnight rest at this point.
-
Remove from refrigerator once the buttercream is very firm. Use a long, sharp serrated knife to level the top of the stump and to expose clean “rings”; save these scraps. Place stump on display plate (I place it in an offset (not centered) manner). I used an actual cake stump!
-
To Make the Tiny Stump: Take a quarter cup measuring cup or a similar small cup with sharp, square edges and line with plastic wrap. Firmly press the cake scraps (pieces of cake and buttercream) into the cup. Refrigerate until firm.
-
For Applying the Ganache: Make sure that the ganache is soft, smooth and spreadable. If it is too stiff, remove a small amount, microwave VERY briefly - like 5 to 10 seconds - to soften and stir it into the larger batch. Repeat until the ganache is very smooth and spreadable.
-
Apply a think crumb coat all over the sides of the stump. Then use an icing spatula to apply the ganache in a slightly thicker layer, using the spatula to create the look of bark, with vertical strokes, allowing the ganache to slightly extend beyond the top of the stump - to look like a rough edge of bark.
-
The tiny stump should be chilled and firm by this point. Unmold from the cup and coat with ganache as well. Place it as you like alongside the base of the large stump. I slice a 45° angle piece from the bottom to help it align more readily with the base of the stump. Use ganache to cover any “seams”.
-
The cake can be refrigerated overnight at this point, if you like.
-
For Final Décor & Serving: Bring cake to room temperature. Place the Meringue Mushrooms here and there, gently pressing into the ganache to help them adhere.
-
Stir the chopped walnuts and a small amount of green food coloring together to make “moss” and sprinkle here and there as you like. Use tweezers to remove the red non-pareils and apply them to the areas of the cake that you want. Obviously use the images as inspiration and to guide you!
-
Cake is ready to serve. Await the oohs and ahs!
Notes:
Tips
- This is what I call a "project cake" and it is recommended for advanced bakers. It is involved, but there are steps that can be broken down so that you can prepare the components in stages, which I highly recommend.
Nutrition
All nutritional information is based on third-party calculations and should be considered estimates. Actual nutritional content will vary with brands used, measuring methods, portion sizes and more. For a more detailed explanation, please read our article Understanding The Nutrition Panel Within Our Recipes.
