These Are an Old-Fashioned Chewy Oatmeal Raisin Cookie
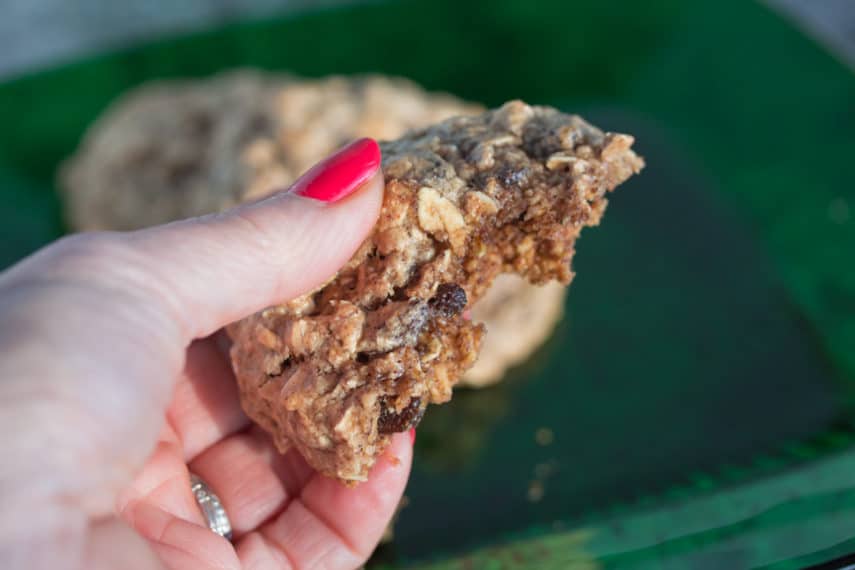
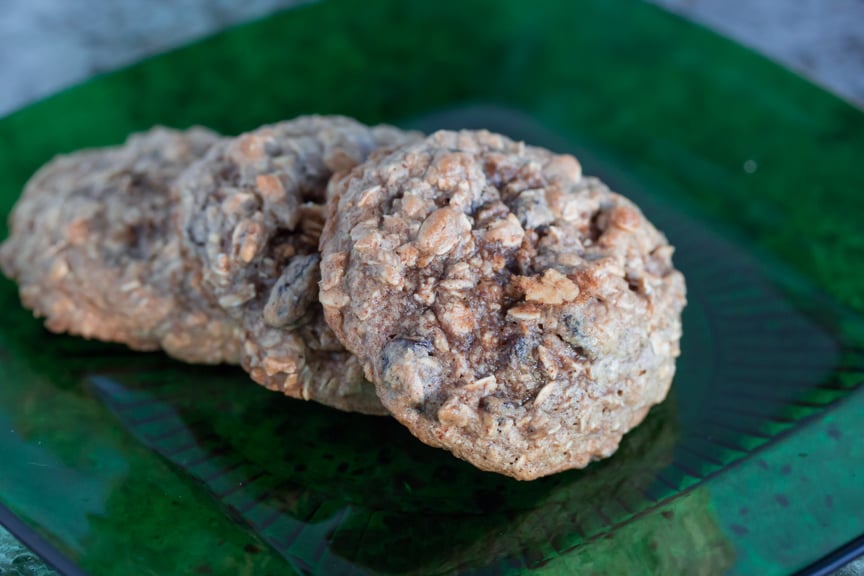
The whole rolled oats (not quick or instant oats) are in a higher proportion than the gluten free flour mixture, adding to the heartiness and oat-y nature of this cookie.
The nuts are optional, but if you do use them, make sure they are fresh and lightly toasted for best flavor and texture.
Chilling the dough for at least two hours allows the oats to absorb moisture and this goes a long way towards creating the desirable chewy texture, aiding in the dough holding its shape and creating nicely shaped round cookies.
Cream Or Melt the Butter?
And by the way, we also tested this recipe by creaming the butter in the classic manner. Not only was this more work, but the results were imperceptibly different and in many cases testers preferred the melted butter version.
This is the kind of fun, I mean work, that goes on in the Test Kitchen! We are always thinking about how to make following the low-FODMAP diet easier for you at home.
Another note on technique: any over-baked cookie will become crisp, so watch the visual cues carefully and read through our Everyday Tips. Not that there is anything wrong with a crisp cookie! We just want you to know how to get the type of cookie that you want. This recipe can be doubled.
Photo Credit: Dédé Wilson.
Let us know how you like our Low FODMAP Old Fashioned Oatmeal Cookies!
Looking for more tummy friendly cookie recipes? Click here!
Oatmeal Raisin Cookies
If you are hankering for an old-fashioned oatmeal cookie that doesn’t throw your digestion into a tizzy, search no more. This cookie will find a home in all cookie jars, whether it is a FODMAP kitchen or not.
Low FODMAP Serving Size Info: Makes about 20, 3-inch (7.5 cm) cookies; serving size 2 cookies
Ingredients:
- 1 1/2 cups (149 g) old fashioned rolled oats (not quick or instant; use gluten free if following gluten free diet)
- 1 cup (145 g) low FODMAP gluten free all-purpose flour, such as Bob’s Red Mill Gluten Free 1 to 1 Baking Flour
- 1 teaspoon cinnamon
- 1/2 teaspoon baking soda
- 1/4 teaspoon salt
- 1/2 cup (1 stick; 115 g) unsalted butter, at room temperature and cut into pieces
- 1 cup (213 g) firmly packed light brown sugar
- 1 large egg, at room temperature
- 1/2 cup (80 g) dark raisins
- 1/3 cup (33 g) lightly toasted walnut halves, chopped, optional
Preparation:
-
Whisk together the oats, flour, cinnamon, baking soda and salt to combine; set aside.
-
Melt the butter in a saucepan on the stove and transfer to a mixing bowl, or melt in a large microwave safe bowl in microwave and proceed in that bowl.
-
Whisk brown sugar into melted butter, then allow to cool slightly so as not to cook the egg. Whisk in egg then stir in the oat/flour mix until a few floury streaks remain. Fold in the raisins, and nuts if using. Cover bowl with plastic wrap and refrigerate dough for at least 2 hours or overnight.
-
Position racks in upper and lower third of oven. Preheat the oven to 350°F/180°C. Line two baking sheet pans with parchment paper. Use two teaspoons or a small scoop to create golf ball size balls spaced about 2 inches (5 cm) apart on prepared pans. Flatten with palms to about ¾ inch (2 cm) thick.
-
Bake for about 12 to 15 minutes or until cookies have spread and turned very light golden brown. They will feel dry to touch on the surface but still be soft in the center. In fact they may seem a tad underdone. They will continue to “bake” and firm up on the baking sheet during cooling due to residual heat. Do not over bake or they will become crisp. Cool on rack. Repeat with remaining dough if necessary after pans have cooled using fresh parchment paper. Store cookies at cool room temperature in airtight container for up to 4 days.
Notes:
Tips
- “Fresh” dried raisins will be moist and plump. If they have dried out and become shriveled and hard you can plump them before using: place the raisins in a heatproof bowl. Pour boiling water over to cover. Allow to sit for 5 to 10 minutes (depending on how dry they were to begin with) until plump and moist. Drain, discard liquid and pat surface dry with paper towels before using in recipe.
- If dough sticks to palms while flattening, place hands under running water then shake excess water off before using to flatten cookies.
- When you want a chewy result in your cookies you must keep an eye on the baking time. Even 30 seconds too long will result in a crisp cookie. Primarily go by the visual cues. There is a time range given in the directions because it all depends on how cold the cookie dough is when it goes in the oven and how well your cookie sheet conducts heat.
If You Can Tolerate
- Fructans: If you have passed the fructan wheat Challenge sub in unbleached all-purpose flour or half all-purpose and half whole wheat pastry flour for the gluten free flour blend. Use weight measurements and not volume for best results with this substitution. Also note that the cookies will no longer be gluten free.
Nutrition
All nutritional information is based on third-party calculations and should be considered estimates. Actual nutritional content will vary with brands used, measuring methods, portion sizes and more. For a more detailed explanation, please read our article Understanding The Nutrition Panel Within Our Recipes.



I made these tonight and oh my gosh are they amazing! I am gluten and dairy free and even with substitutions for the dairy, they came out grrrrreat!
Fleur, thank you so much for letting us now! We love hearing how we are helping others eat deliciously and safely for their tummies. Your non-dairy tip will help others, too. Enjoy!
Hi, I’m very excited to try this recipe! Thank you for sharing it!
You suggested relying on visual cues to know if the cookie is done, and reading the Everyday Tips. I read the tips for this recipe, but don’t see what visual cues to look for. Am I missing something? Is that in a different article? What should we watch for?
Thanks again for developing and sharing these recipes!
Alexandra
Hi! It is the part in the recipe directions that discuss color and texture: “Bake for about 12 to 15 minutes or until cookies have spread and turned very light golden brown. They will feel dry to touch on the surface but still be soft in the center. In fact they may seem a tad underdone. They will continue to “bake” and firm up on the baking sheet during cooling due to residual heat. Do not over bake or they will become crisp.” I guess you could call then visual AND touch cues! Hope this helps. If anything, people overtake; then you loose the chewiness. The pan’s residual heat MUST be taken into account.
I’m not an oatmeal raisin fan, but these have converted me! Hubby, who’s not lofo, loves them too.
Wow! That is high praise, indeed! So happy you loved them.
In an old Colorado cookbook, the favorite recipe included soaking the raisins in egg and vanilla for an hour before mixing. (Your recipe doesn’t include vanilla?). In an America’s test kitchen recipe, browning the butter for choc chip cookies adds amazing flavor. I’ve combined both these method for oatmeal raisin cookies – amazing!
I used to work with them developing recipes. We have browned butter recipes. It changes the flavor and texture, which I didn’t want in this one. Glad your tweak worked for you!