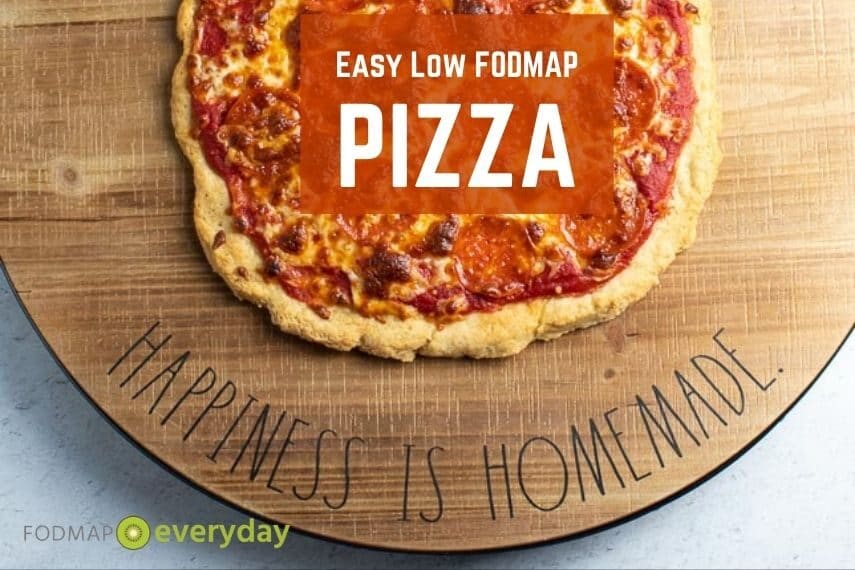
Our Easy Low FODMAP Pizza recipe is the simplest and most straight forward of our pizza recipes. My goal with this recipe was to help you be able to make delicious low FODMAP pizza using readily available ingredients and in minimal time. Before making any of our pizzas, please read our articles, Everything You Need To Know About Low FODMAP Pizza and Low FODMAP Pizza Ingredients & Equipment. And for this recipe you will also want to check out our Low FODMAP Pizza Sauce.
What Is Not In Our Easy Pizza Crust
I also gave myself a strict list of ingredients I did not want to use for our simplest Easy Pizza. Here are ingredients that you might find in other pizza crust recipes that are gluten-free and/or low FODMAP – but that you won’t find here:
- Psyllium husk
- Whole eggs
- Egg whites
- Chickpea flour
- Honey
- Agave
- Liquid dairy ingredients
- Almond flour
- Buttermilk powder
- Nonfat dry milk
- Flour blends with added fibers
- Whey protein isolate
- Modified starches
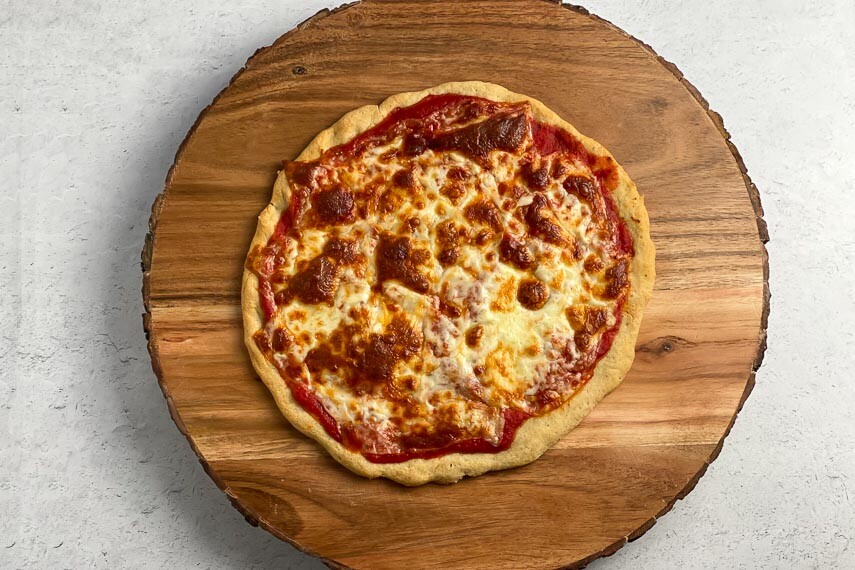
What Our Easy Pizza Crust Is
I wanted this recipe to be solidly low FODMAP, and in addition I wanted it to be:
- Egg-free
- Nut-free
- Legume-free
- Dairy-free
- High FODMAP sweetener free
At first, this was a huge challenge, and some of our other pizza dough recipes do expand beyond these restrictions, but not everyone wants to invest in specialty ingredients, equipment or time and they do want to have pizza on the table as quickly and simply as possible. That is this recipe.
Choose Your Toppings
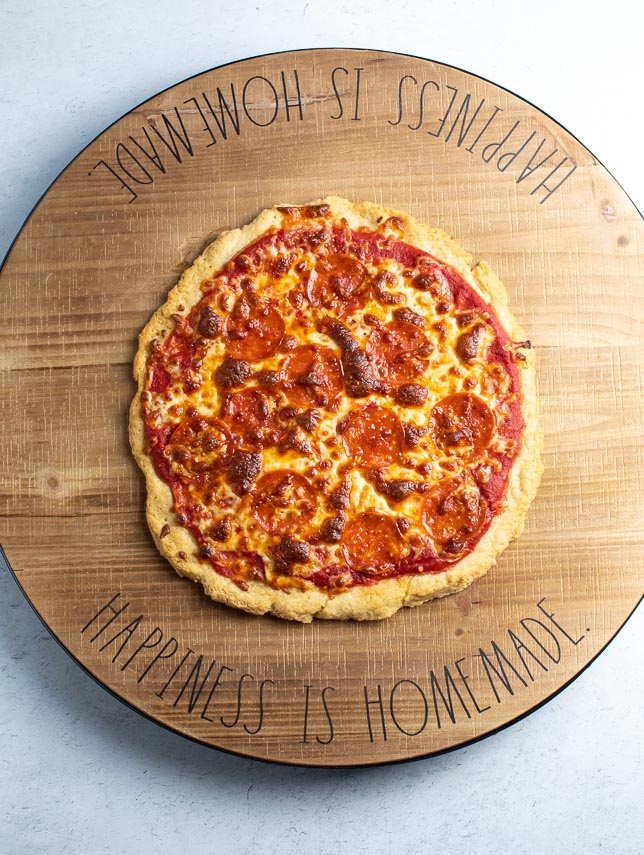
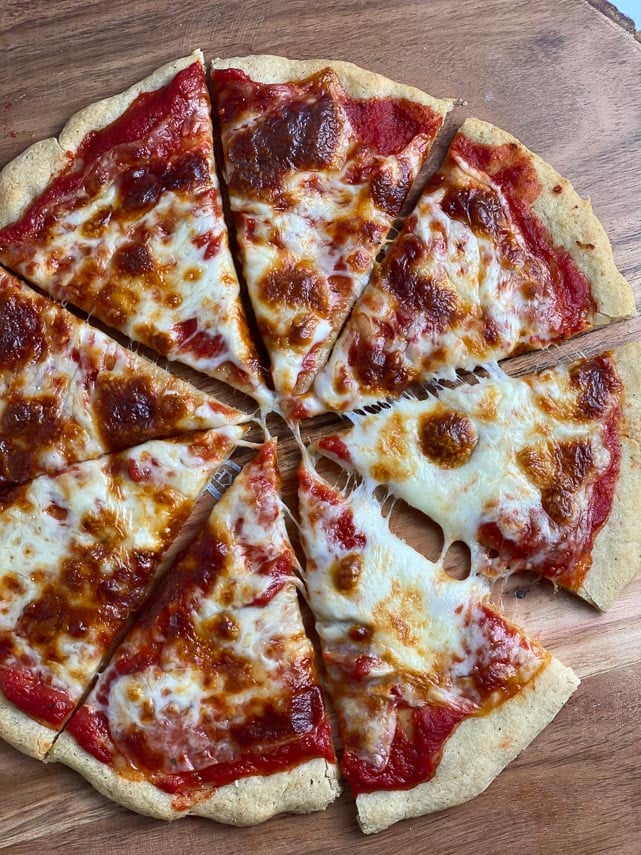
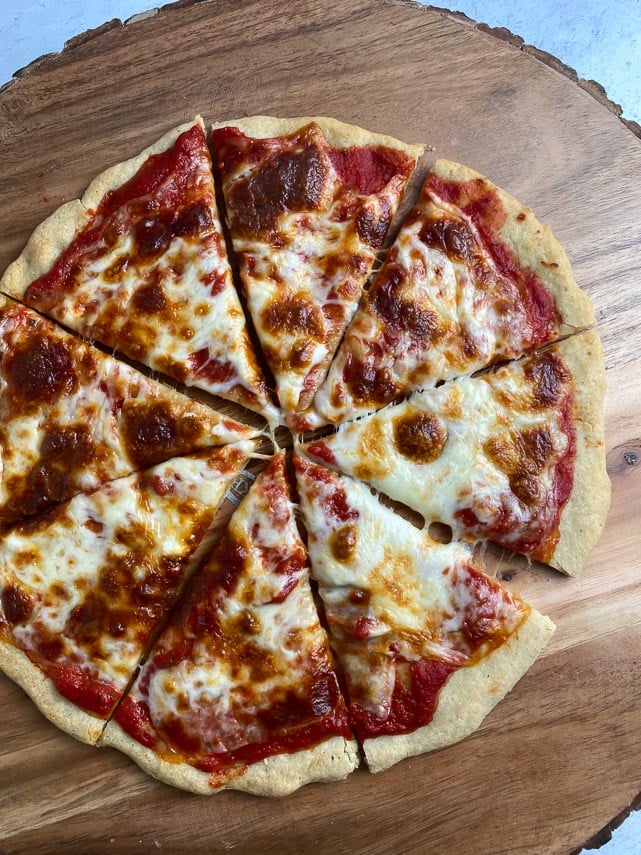
Our Low FODMAP Easy Pizza is versatile! Here it is with pepperoni. Did you know that you can find low FODMAP pepperoni?
You can even make it with fresh mozzarella, fresh tomatoes and fresh basil. Sky’s the limit.
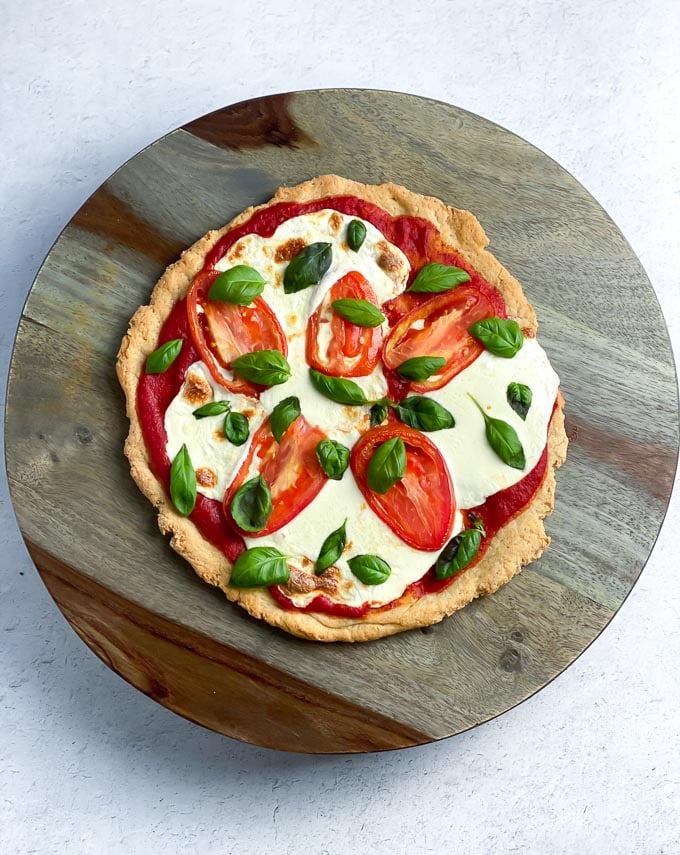
You want to take a bite, we know you do!
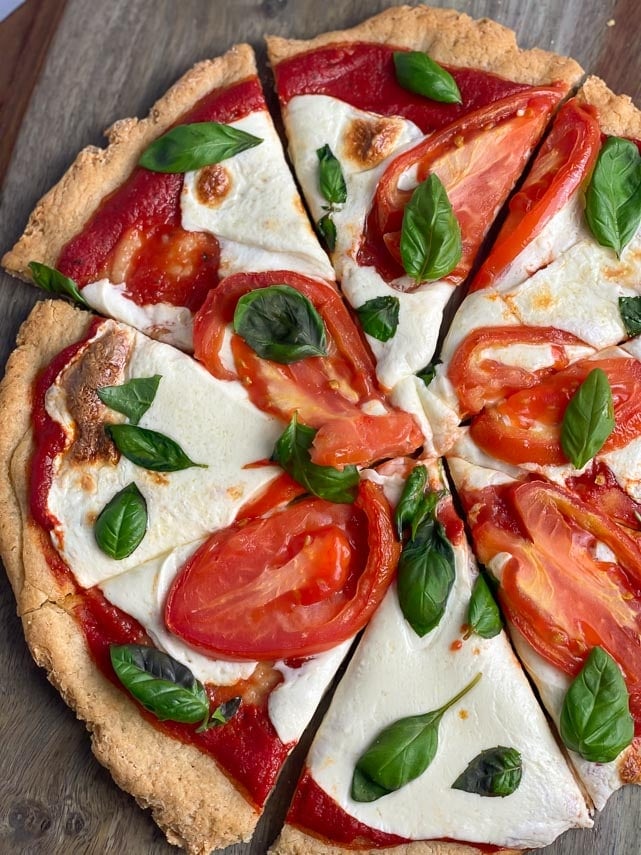
We have more information on low FODMAP toppings in our article, Everything You Need To Know About Low FODMAP Pizza. You will need your Monash University and FODMAP Friendly apps to assess ingredient amounts; use our article on Stacking to help you, too.
Frequently Asked Questions
This pizza crust is thin and a little chewy, but it is not as chewy as our Low FODMAP Pizza 2.0, which uses Better Batter flour that contains pectin and also Expandex, a modified tapioca starch. Both ingredients provide more chew and better charring. This crust recipe has a little chew, but is also a bit brittle. It is also the thinnest of all our crusts.
Nothing out of the ordinary; if you have a well-stocked low FODMAP pantry, you will be good to go. That was the goal here – simple and straightforward and relatively fast. But, it does require some resting times, so read the recipe through before starting (as you always should) to acquaint yourself with the process, beginning to end.
Yes. If you want this recipe to turn out the best that it can be, you do. And yes, the Bob’s Red Mill Gluten Free 1 to 1 Baking Flour contains xanthan, but we think this recipe needs an extra boost. Xanthan gum is low FODMAP.
We suggest that you make this recipe as written – use these ingredients and follow the suggested technique – for best results.
Yes, you can! Directions are given within the recipe below.
Yes, you do. We tried to figure out a way to get it done in one fell swoop, but the toppings cook way faster than this type of crust. The crust was still very floppy and moist (raw tasting and textured) by the time the cheese was melted (see below).
11-inches (28 cm) maximizes the space on the heavy-duty pans that we ask you to use.
If you want simpler, we suggest buying a premade crust. None of the “simpler” recipes we found were up to our standard. I tried many, including boxed mixes by reputable brands. I was not impressed and didn’t think they were worth my time. This recipe is as stripped down as we could make it. Please note that most of the time is hands-off time, allowing the dough to rise.
Yes, you can. Instructions are below in the recipe, along with directions for using a stand mixer.
Ingredients
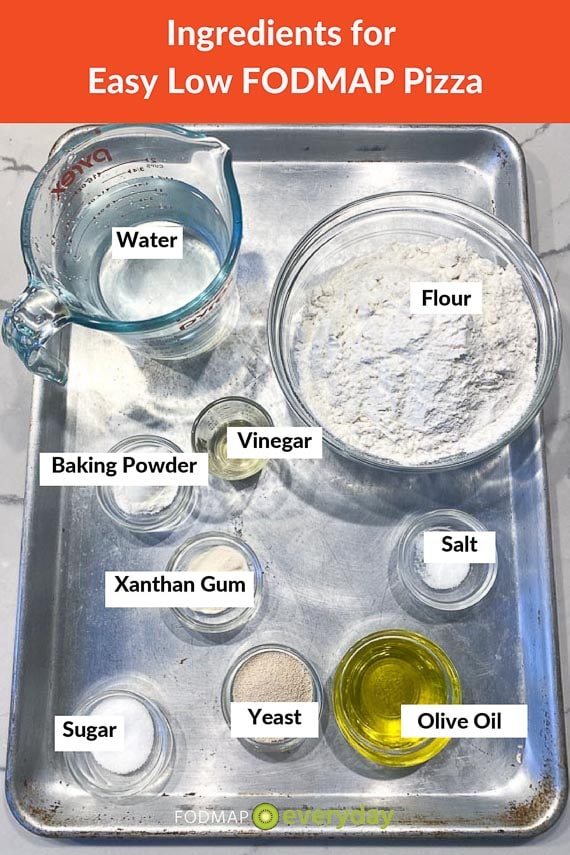
For this pizza dough you need Bob’s Red Mill 1 to 1 Gluten Free Baking Flour. Can you make this pizza with another flour? Sure, but I cannot guarantee how it will come out. If you are taking the time to make homemade pizza, don’t you want it to be the best it can be?
This recipe calls for instant yeast. I like SAF and RedStar brands.
This recipe calls for table salt; kosher salt will not measure the same.
The sugar is simply white granulated sugar, which is low FODMAP.
How To Make Our Easy Low FODMAP Pizza
Have all your ingredients assembled and ready to use.
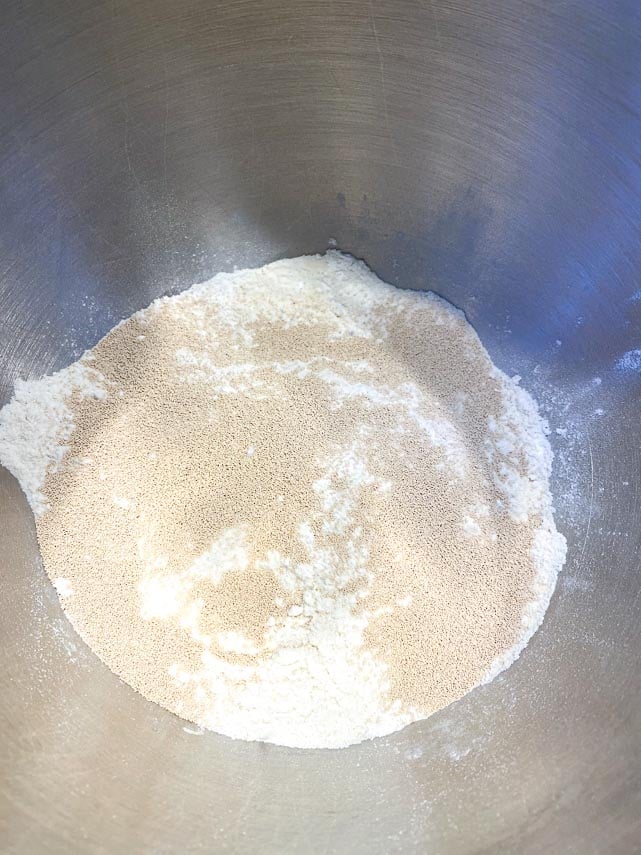
Place the dry ingredients for the dough in mixing bowl, as seen below.
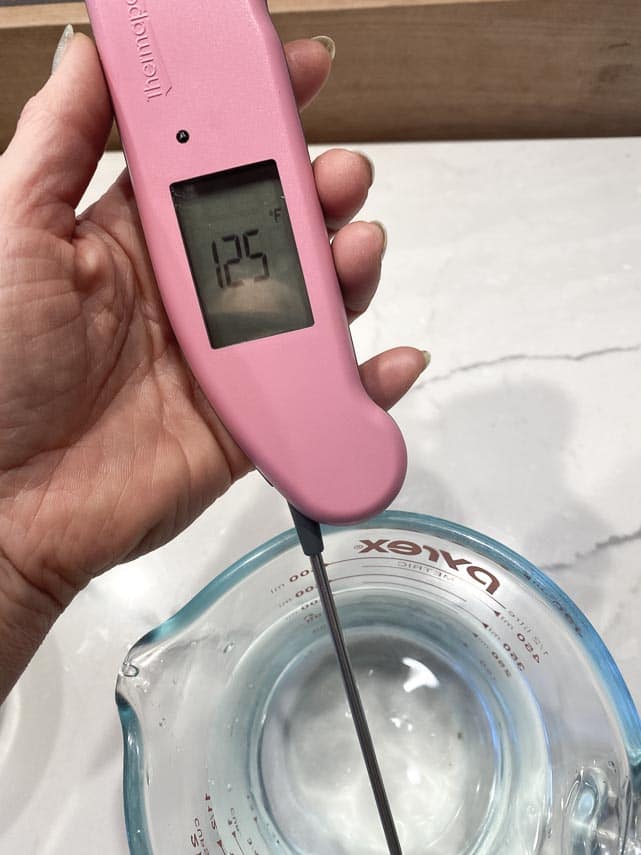
Make sure your water is the right temperature. It has to be hot enough, but not too hot. Different yeasts require different temperatures. 125°F (52°C) is a great temperature for this recipe. I use a Thermopen Instant read thermometer for accuracy and a swift result. You don’t have to get a pink one; they have several colors.
Add the warm water and vinegar to the dry mixture and begin beating with flat paddle (not the dough hook) in your mixer, or beat vigorously by hand. The mixture should look moist and a little elastic.
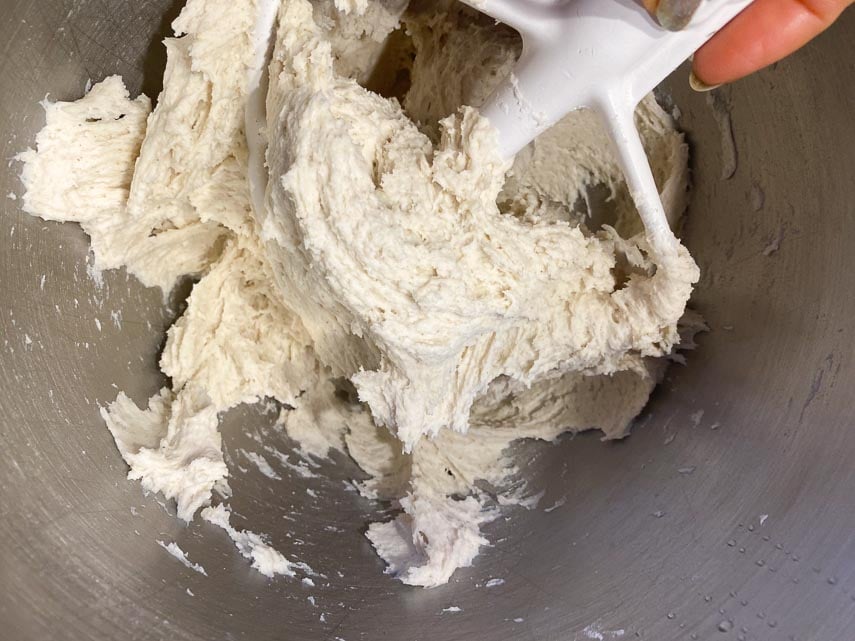
If you check it with your fingers, it will be only slightly sticky.
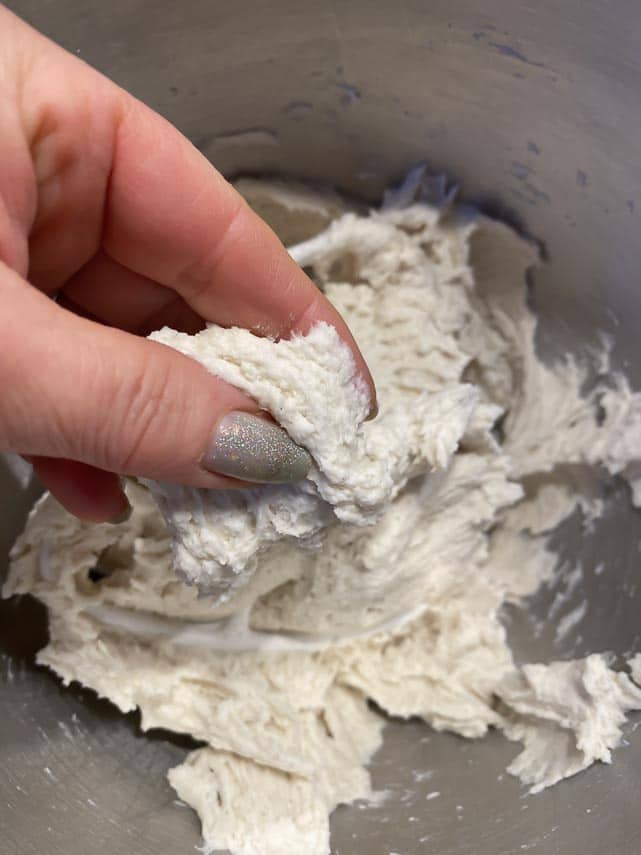
Use a silicone spatula to gather it together and you will see that it comes away from the bowl cleanly. It looks stickier than it really is! This amount of dough will be divided in half to make two crusts.
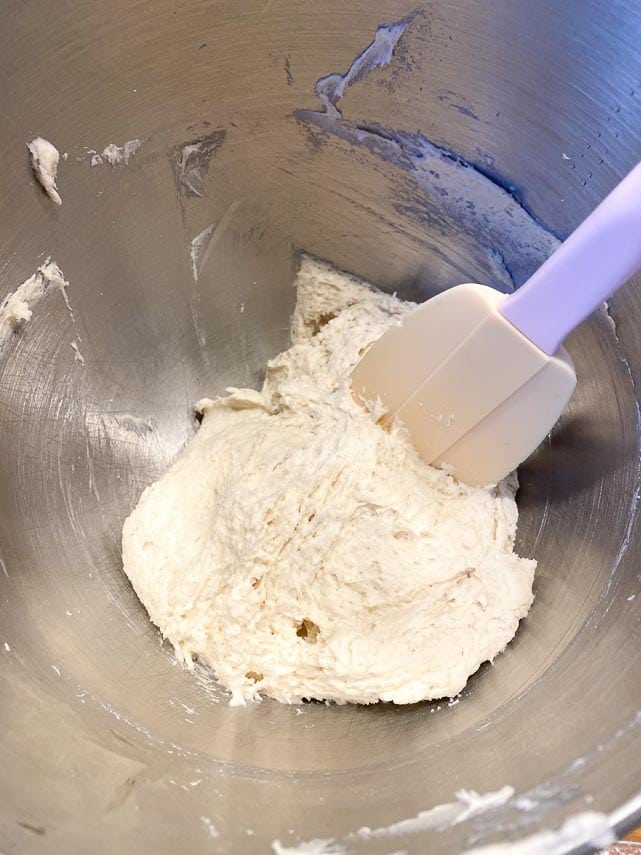
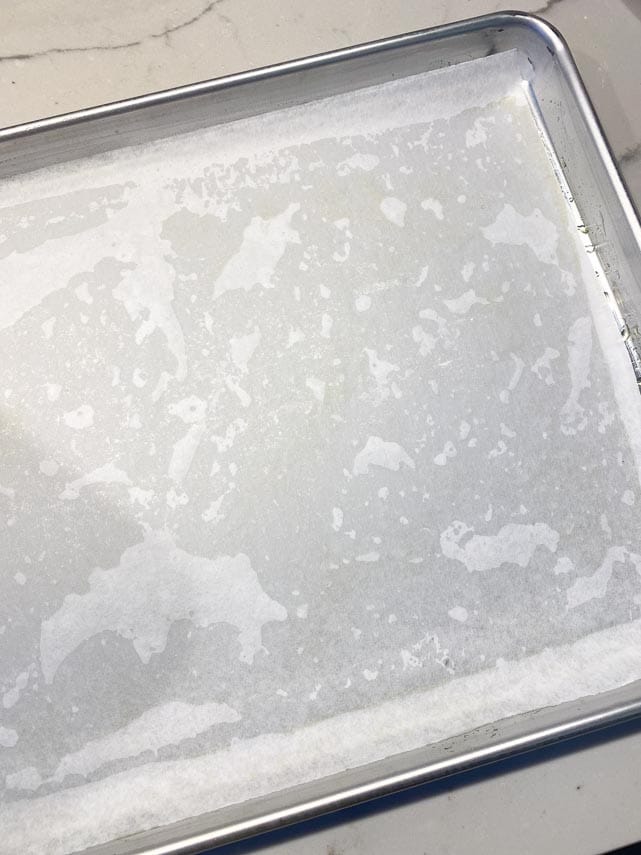
Use a pastry brush to coat two half-sheet pans with olive oil.
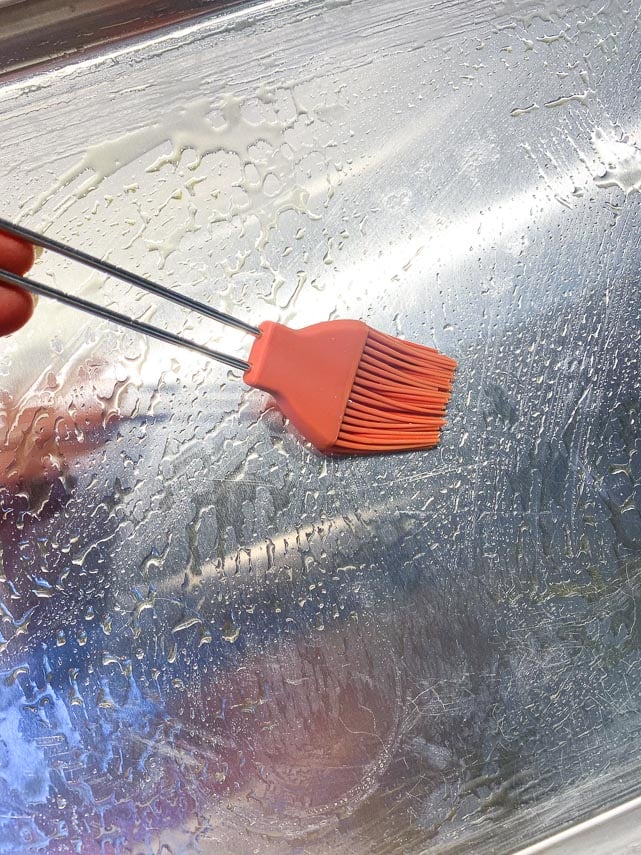
Line the oiled pans with parchment paper, cut to fit. I know that sounds odd – but trust me…
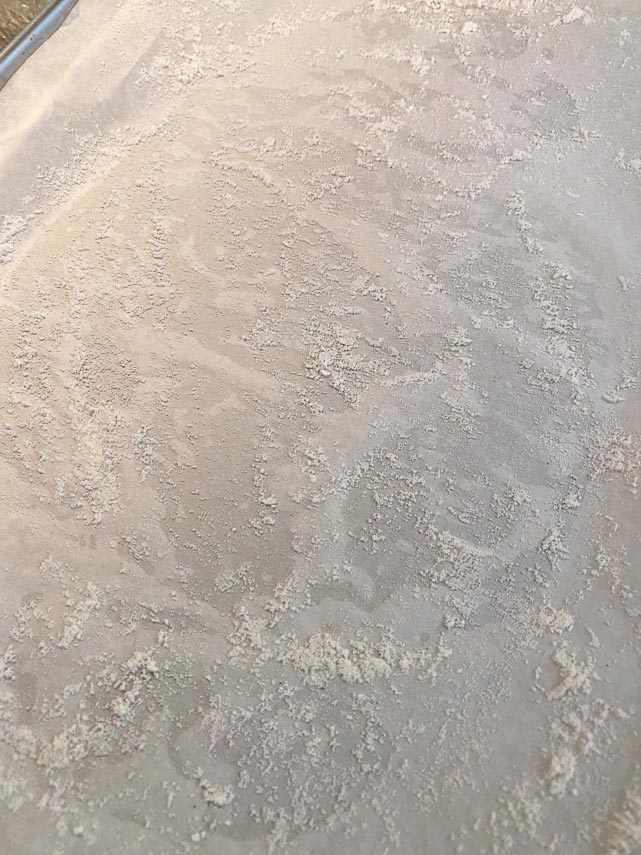
Dust the pans with flour.
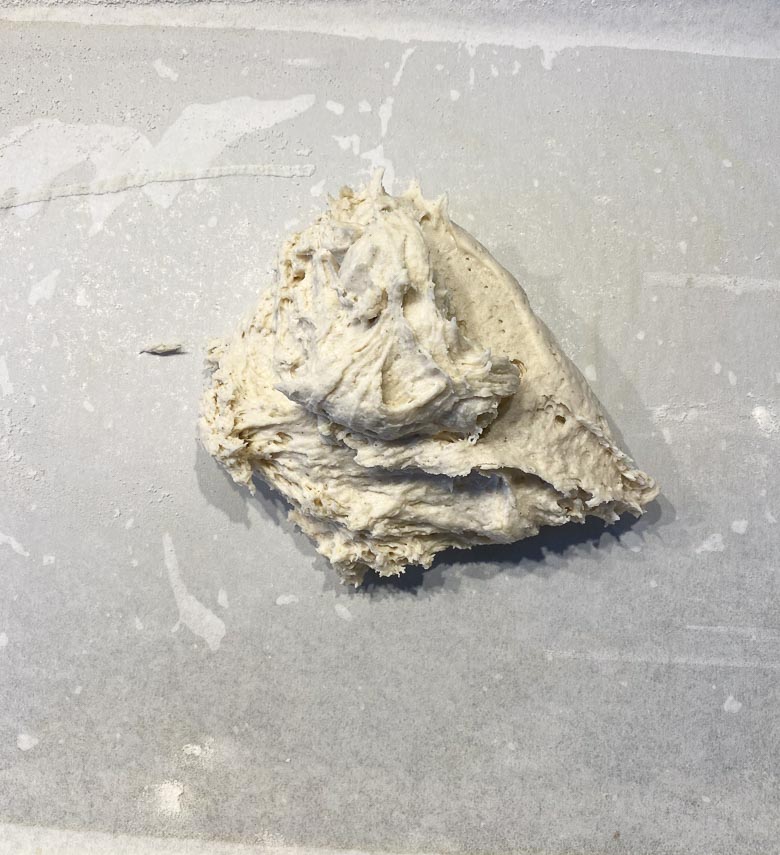
Scrape out half of the dough onto the center of each pan.
Oil your hands well and smooth out each ball.
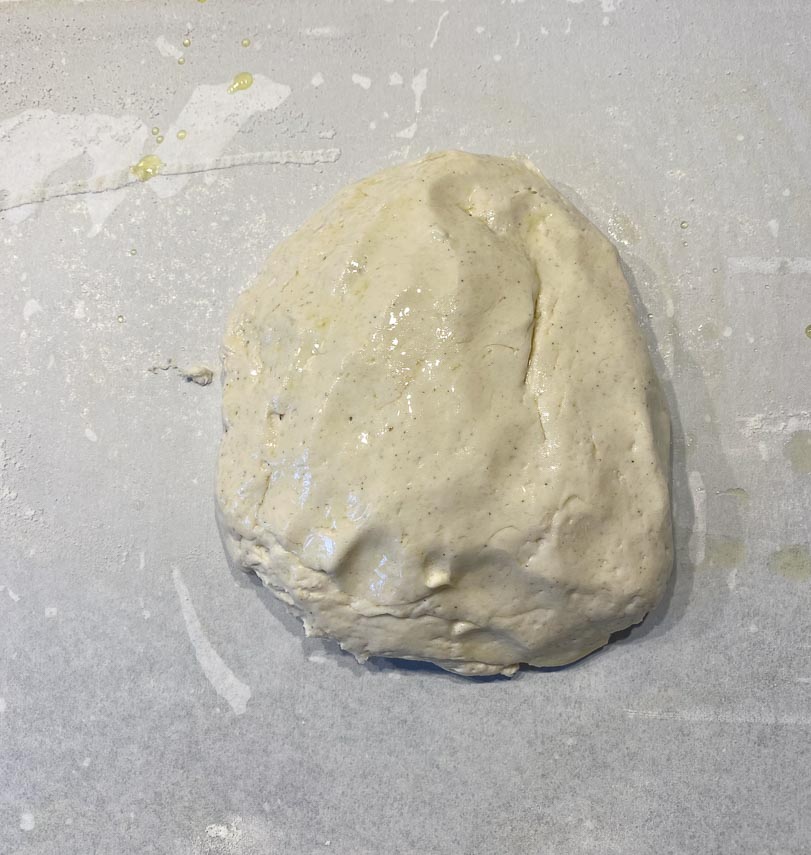
Then cover with plastic wrap and place in a warm, draft-free area to rise for 1 hour.
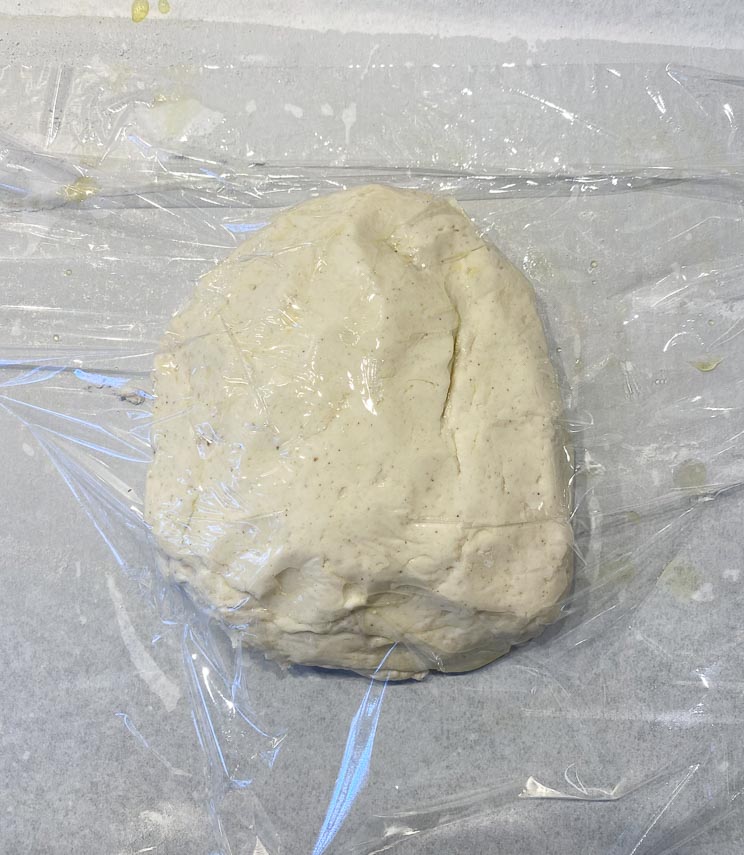
Meanwhile you can make your Low FODMAP Pizza Sauce and prep your toppings and cheese.
Mozzarella is classic, of course. Did you know that many cheeses are low FODMAP including mozzarella? Check out our article, Is Cheese Low FODMAP? for more info.
Use A Cheese Plane
You can use a cheese plane to slice nice thin pieces of mozzarella. You can use a box grater, or use your cheese plane in a creative way, which I will explain.
I was introduced to the Wonder Shredder during one of my deep-dives into the pizza aficionado’s corners of the web. It is a simple hand held tool, that shreds like a box grater, except that the shreds are gigantic. I found a used one and maybe you can, too. I love the size shreds it makes! They melt so beautifully.
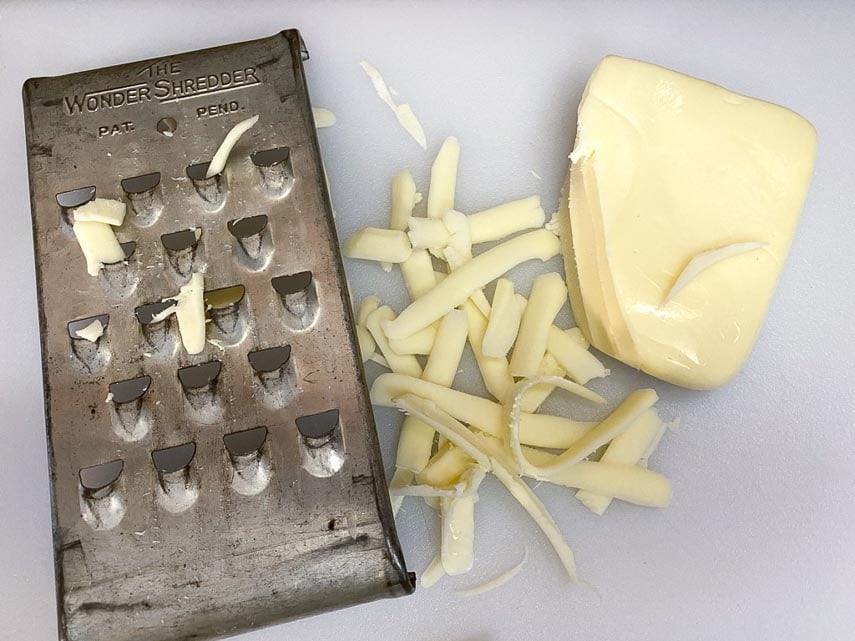
But not everyone has a Wonder Shredder, so I experimented with using my cheese plane and found that if I used it to shave off a corner of a block of cheese, I got a similar shaped shred as those created by the Wonder Shredder. Then I just kept moving the cheese this way and that, to constantly be creating angles to drag my cheese plane upon. Worked like a charm.
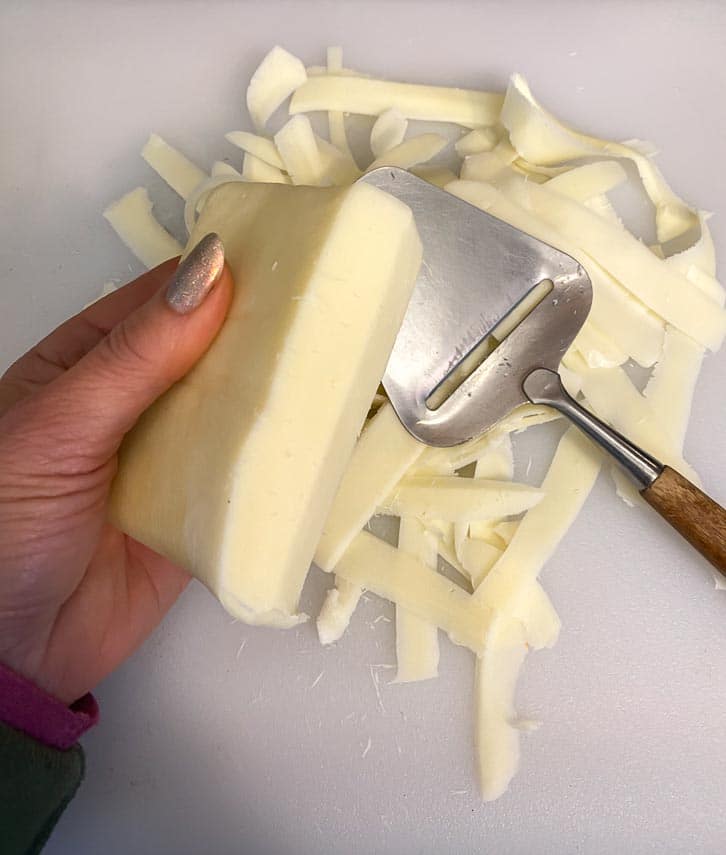
Any which way you grate or slice the cheese is fine, as long as it is not thick.
After an hour has passed, remove the plastic wrap from your dough.
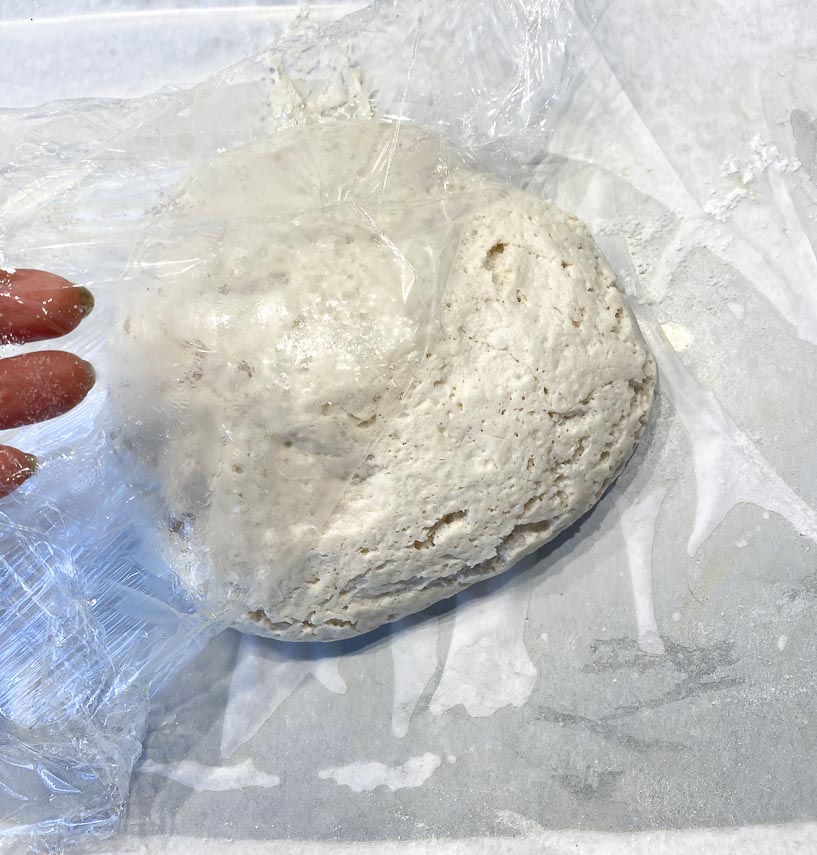
Coat fingers again with oil, and pat out your dough balls into rounds that maximize the top to bottom width of the pan, which means your pizzas will be about 11-inches (28 cm) around.
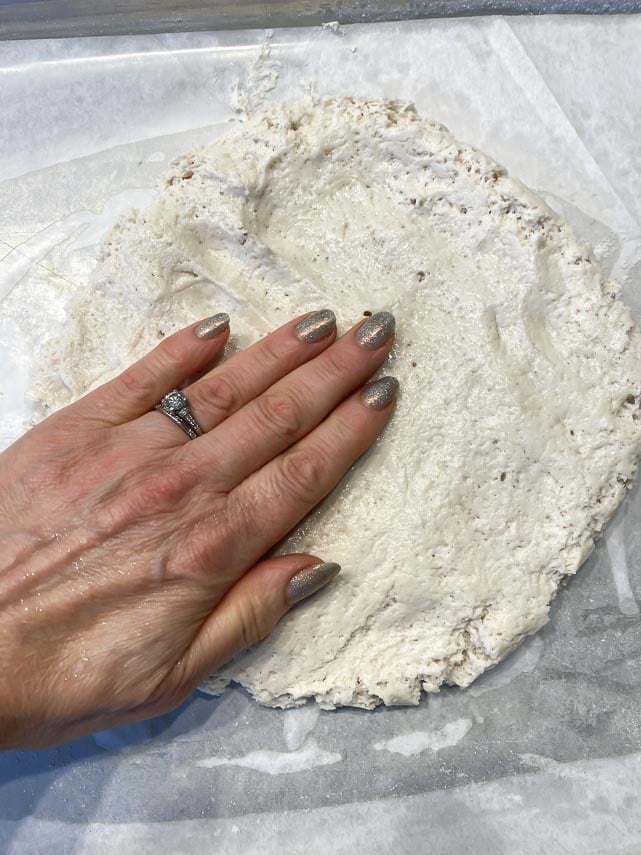
Cover with clean plastic wrap and set aside in a warm, draft-free space while you preheat your oven.
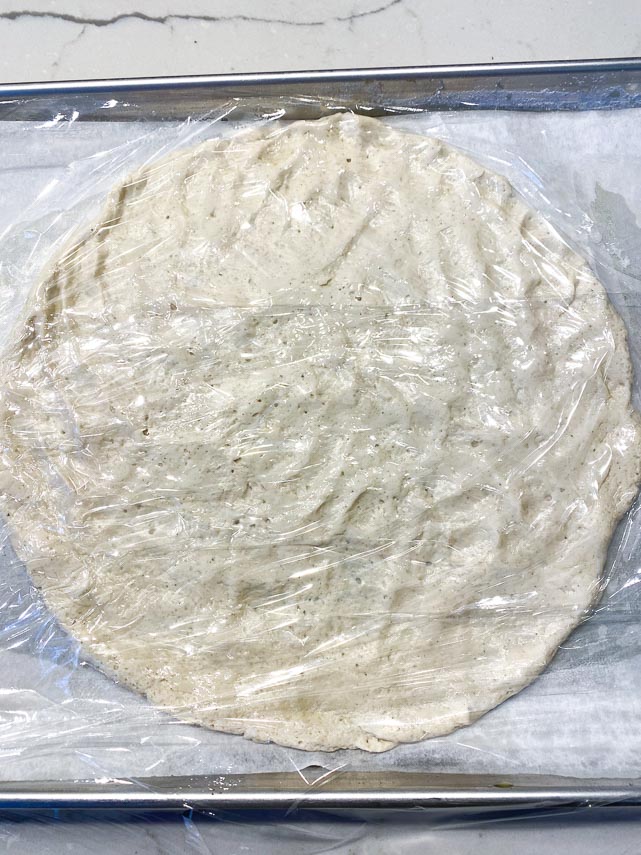
Baking Pizzas For Best Results
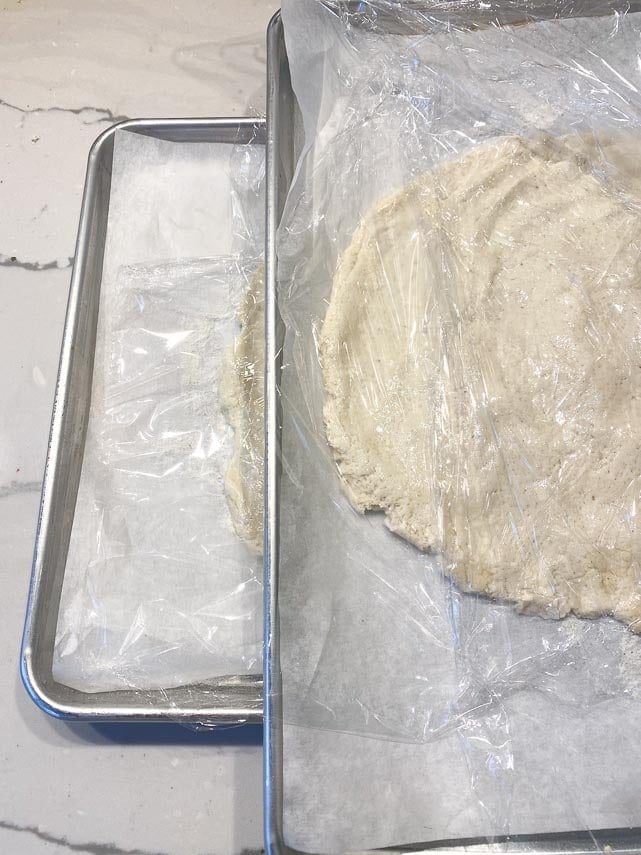
Here is an unfortunate fact: these pizzas bake best if you bake them one at a time. If you have your racks spread out and have two pans in the oven at once, the high heat just doesn’t circulate as well. So you have a choice: bake both at once because it is more convenient, or bake them one at a time. It’s up to you.
Here they are below, stacked up waiting for the oven.
Let’s Bake Pizza!
Position 2 racks in the two hottest areas of your oven – or one rack in hottest area. Preheat oven to 475°F (240°C).
Bake the pizza crusts for about 15 minutes, rotating front to back and from one rack to the other halfway through baking. The crust should have begun to take on a light golden color and you should be able to lift the crust from the parchment and feel a dry crust on the bottom that is beginning to crisp.
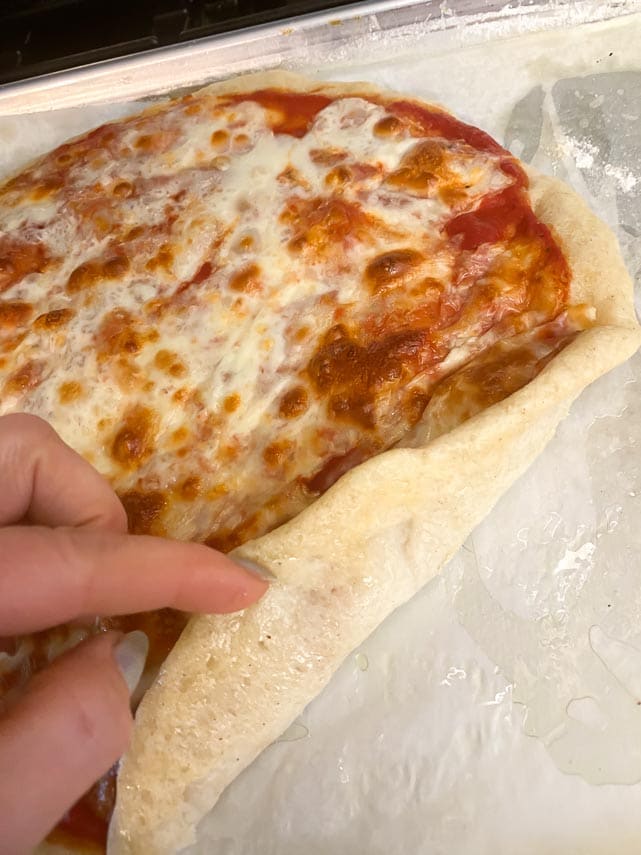
This image below shows you that the crust has begin to dry out, but it still needs to get some color. It is NOT par-baked enough yet.
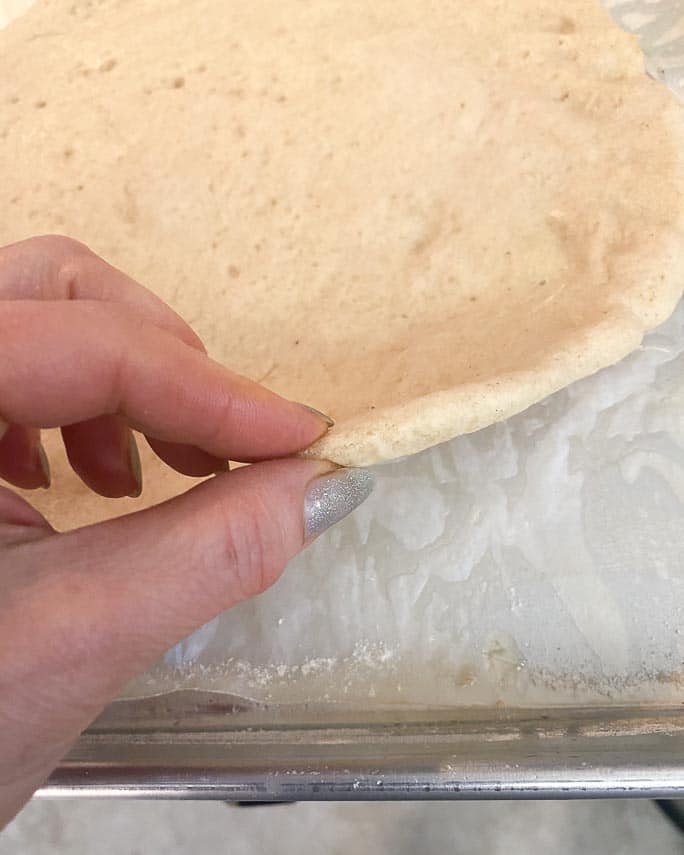
Go by my recommended visual cues and make sure the crust has begun to “set” and taken on some golden color and crispness, regardless of the time.
You Can Make These Crusts Ahead & Freeze Them
For Freezing Crusts: If you want to cool and freeze the crusts, this is your stopping point. Remove pans from oven and remove crusts from pans, cooling crusts on racks. Once they have cooled, place in large zipper top bags and freeze for up to one month, taking care not to bend or crush. They can each get their own bag, or separate with parchment paper and use one bag. When ready to use, Position 2 racks in the two hottest areas of your oven. Preheat oven to 475°F (240°C).
Lightly oil two clean, heavy-duty aluminum rimmed half-sheet pans. Place frozen crusts on pans, add toppings as described below and cook until desired level of doneness.
To Use Crusts Immediately
For Using Crusts Immediately: Leaving oven at 475°F (240°C), quickly (and carefully) lift crusts off of parchment papers and discard papers. Place crusts back on oiled pans, crisped side down.
Assemble Your Pizza
For Assembly: Quickly, so that pans retain heat, brush the edges of the crust with extra olive oil then spread about ½ cup (125 g) of sauce over each crust, leaving about a half an inch (12 mm) border of crust. Scatter cheese and any toppings over the sauce. Bake for about 6 to 8 minutes or until cheese is melted and beginning to bubble and crusts are browned and crisp. Serve immediately.
What Not To Do
Do not try to bake the pizza in one fell swoop, without par-baking first. I have tried this, because of course we would have loved to make this as simple as possible. It doesn’t work. You can see below that the toppings get very well done and the bottom will still be far underdone.
Par-Baking & Baking Again
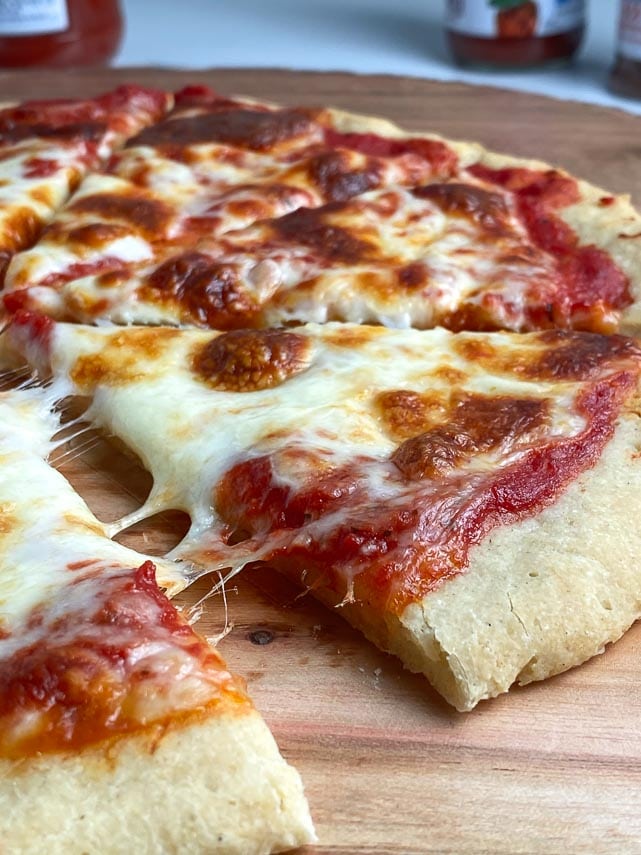
Par-baking and then baking again will give you the crisp texture that you want. Check it out:
My #1 Tip To Make This Pizza The Best It Can Be
This crust will be at its best if it is baked more, rather than less. Make sure you get some good golden coloring on it during the par-bake and then, after you have added your sauce and cheese, you want to bake it until it is really golden and toasty.
Do Not Under-Bake This Pizza!
FODMAP Information
Our recipes are based on Monash University and FODMAP Friendly science.
- Canned Tomatoes: Monash University has lab tested canned tomatoes and they are low FODMAP at 92 g or 3.2-ounces, which they say is about ⅗ of a cup. Moderate FODMAPs kick in at about ¾ cup or 115 g, at which point fructose can become an issue.
- Cheese: Many cheeses have low FODMAP serving sizes. The low FODMAP diet is not a dairy-free diet. Hard cheeses such as Parmigiano Reggiano or Pecorino Romano have been lab tested by Monash University and are low FODMAP in 40 g amounts.
- Oil: All pure oils are fats and contain no carbohydrates, therefore they contain no FODMAPs.
- Sugar: Monash University and FODMAP Friendly have both lab tested white, granulated sugar. Monash states that a Green Light low FODMAP serving size of white sugar is ¼ cup (50 g). FODMAP Friendly simply states that they have tested 1 tablespoon and that it is low FODMAP. Regular granulated white sugar is sucrose, which is a disaccharide made up of equal parts glucose and fructose. Sucrose is broken down and absorbed efficiently in the small intestine.
- Tomatoes: Both Monash University and FODMAP Friendly have lab tested common, beefsteak tomatoes. Monash University lab tests have shown no FODMAPs. FODMAP Friendly gives them a “Pass” at ½ cup (75 g) portions. Cherry tomatoes and Plum (Roma) tomatoes have also been tested by Monash and FODMAP Friendly. Both Monash and FODMAP Friendly recommend 75 g of cherry tomatoes as a serving (about 5 or ½ cup) and 75 g of plum or Roma tomatoes, which is about 1 small tomato or ½ cup.
- Yeast: Yeast – fresh, dry and instant – are all low FODMAP.
Please always refer to the Monash University & FODMAP Friendly smartphone apps for the most up-to-date lab tested information. As always, your tolerance is what counts; please eat accordingly. The ultimate goal of the low FODMAP diet is to eat as broadly as possible, without triggering symptoms, for the healthiest microbiome.
More Gluten-Free Pizza Recipes
Not all of our pizza recipes are gluten-free, but several, in addition to this one, are. Here is our list of Gluten-Free Pizza Recipes.
- Low FODMAP Pizza 2.0
- Caputo Fioreglut Low FODMAP Pizza
- Low FODMAP Deep-Dish Pizza
- Low FODMAP Grilled Pizza
- And this one, our Easy Pizza Recipe.
Easy Low FODMAP Pizza
Our Easy Low FODMAP Pizza recipe is the simplest and most straight forward of our pizza recipes. My goal with this recipe was to help you make delicious low FODMAP pizza with readily available ingredients and minimal time.
Ingredients:
Pizza Dough:
- 2 teaspoons extra virgin olive oil plus extra
- 2 2/3 cups (377 g) low FODMAP gluten-free, all-purpose flour, such as Bob’s Red Mill Gluten Free 1 to 1 Baking Flour, plus extra
- 1 tablespoon instant yeast, such as SAF brand red label
- 2 teaspoons baking powder; use gluten-free if following a gluten-free diet
- 1 teaspoon salt
- 1 teaspoon xanthan gum
- 1/8 teaspoon sugar
- 1 1/2 cups (360 ml) warm water, 120°F to 125°F (48°C to 52°C)
- 2 teaspoons apple cider vinegar
Sauce & Toppings:
- 1 cup (240 g) Low FODMAP Pizza Sauce
- 8- ounces (225 g) shredded or thinly sliced low-moisture mozzarella
- Low FODMAP pepperoni
- Sautéed red or green peppers or oyster mushrooms
- Other low FODMAP toppings
- Fresh basil leaves; optional – to be added after baking
Preparation:
-
For the Dough: Take two clean, heavy-duty aluminum rimmed half-sheet pans and generously coat with the extra olive oil. Line each pan with a piece of parchment paper cut to fit (yes, place it over the oiled surface); lightly flour the top of the parchment; set aside.
-
For Making By Hand: Whisk together flour, instant yeast, baking powder, salt, xanthan gum and sugar in a large bowl to aerate and combine. Add the warm water, vinegar and 2 teaspoons of olive oil and begin to stir together with a sturdy wooden spoon until a wet dough forms, then beat vigorously until mixture looks like a soft, somewhat wet batter with a little elasticity.
-
For Making With A Stand Mixer: Place flour, instant yeast, baking powder, salt, xanthan gum and sugar in stand mixer bowl fitted with flat paddle attachment and mix on low to aerate and combine. Add the warm water, vinegar and 2 teaspoons of olive oil and mix on low-medium speed until a wet dough forms, then turn speed up to medium to medium-high and beat until mixture looks like a soft, somewhat wet batter with a little elasticity.
-
Divide dough in half and scrape each half onto one of the prepared pans in the center of the parchment paper, making a rounded mound. Put a little olive oil on your palms and fingers and gently coat the balls with oil and coax them into a nice squat ball shape. Cover each dough ball with a piece of plastic wrap pressed right on the dough surface and place in a warm, draft free area to rise for 1 hour.
-
Meanwhile, prep your sauce and toppings. Pizza Sauce should be room temperature, or at least not cold.
-
After 1 hour, remove plastic wrap from dough, coat fingers and palms with a little of the extra olive oil and press each dough ball into an 11-inch (28 cm) round right on the parchment. Cover with clean plastic wrap and allow dough to rise for about 20 more minutes while your oven preheats.
-
Position 2 racks in the two hottest areas of your oven – or one rack in hottest area, if you are baking them one at a time. Preheat oven to 475°F (240°C).
-
Bake the pizza crusts for about 15 minutes, rotating front to back and from one rack to the other halfway through baking. The crust should have begun to take on a light golden color and you should be able to lift the crust from the parchment and feel a dry crust on the bottom that is beginning to crisp. Go by my recommended visual cues and make sure the crust has begun to “set” and taken on some golden color and crispness, regardless of the time.
-
For Freezing Crusts: If you want to cool and freeze the crusts, this is your stopping point. Remove pans from oven and remove crusts from pans, cooling crusts on racks. Once they have cooled, place in large zipper top bags and freeze for up to one month, taking care not to bend or crush. Each can get its own bag, or separate with a piece of parchment paper and use one bag. When ready to use, Position 2 racks in the two hottest areas of your oven. Preheat oven to 475°F (240°C).
-
Lightly oil two clean, heavy-duty aluminum rimmed half-sheet pans. Place frozen crusts on pans, add toppings as described below and cook until desired level of doneness.
-
For Using Crusts Immediately: Quickly lift crusts off of parchment papers and discard papers. Place crusts back on oiled pans, crisped side down.
-
For Assembly: Quickly, so that pans retain heat, brush the edges of the crust with extra olive oil then spread about ½ cup (125 g) of sauce over each crust, leaving about a half an inch (12 mm) border of crust. Scatter cheese and any toppings over the sauce. Bake for about 6 to 8 minutes or until cheese is melted and beginning to bubble and crusts are browned and crisp. Serve immediately.
Notes:
FODMAP Information
Our recipes are based on Monash University and FODMAP Friendly science.
- Canned Tomatoes: Monash University has lab tested canned tomatoes and they are low FODMAP at 92 g or 3.2-ounces, which they say is about ⅗ of a cup. Moderate FODMAPs kick in at about ¾ cup or 115 g, at which point fructose can become an issue.
- Cheese: Many cheeses have low FODMAP serving sizes. The low FODMAP diet is not a dairy-free diet. Hard cheeses such as Parmigiano Reggiano or Pecorino Romano have been lab tested by Monash University and are low FODMAP in 40 g amounts.
- Oil: All pure oils are fats and contain no carbohydrates, therefore they contain no FODMAPs.
- Sugar: Monash University and FODMAP Friendly have both lab tested white, granulated sugar. Monash states that a Green Light low FODMAP serving size of white sugar is ¼ cup (50 g). FODMAP Friendly simply states that they have tested 1 tablespoon and that it is low FODMAP. Regular granulated white sugar is sucrose, which is a disaccharide made up of equal parts glucose and fructose. Sucrose is broken down and absorbed efficiently in the small intestine.
- Tomatoes: Both Monash University and FODMAP Friendly have lab tested common, beefsteak tomatoes. Monash University lab tests have shown no FODMAPs. FODMAP Friendly gives them a “Pass” at ½ cup (75 g) portions. Cherry tomatoes and Plum (Roma) tomatoes have also been tested by Monash and FODMAP Friendly. Both Monash and FODMAP Friendly recommend 75 g of cherry tomatoes as a serving (about 5 or ½ cup) and 75 g of plum or Roma tomatoes, which is about 1 small tomato or ½ cup.
- Yeast: Yeast – fresh, dry and instant – are all low FODMAP.
Please always refer to the Monash University & FODMAP Friendly smartphone apps for the most up-to-date lab tested information. As always, your tolerance is what counts; please eat accordingly. The ultimate goal of the low FODMAP diet is to eat as broadly as possible, without triggering symptoms, for the healthiest microbiome.
Nutrition
All nutritional information is based on third-party calculations and should be considered estimates. Actual nutritional content will vary with brands used, measuring methods, portion sizes and more. For a more detailed explanation, please read our article Understanding The Nutrition Panel Within Our Recipes.
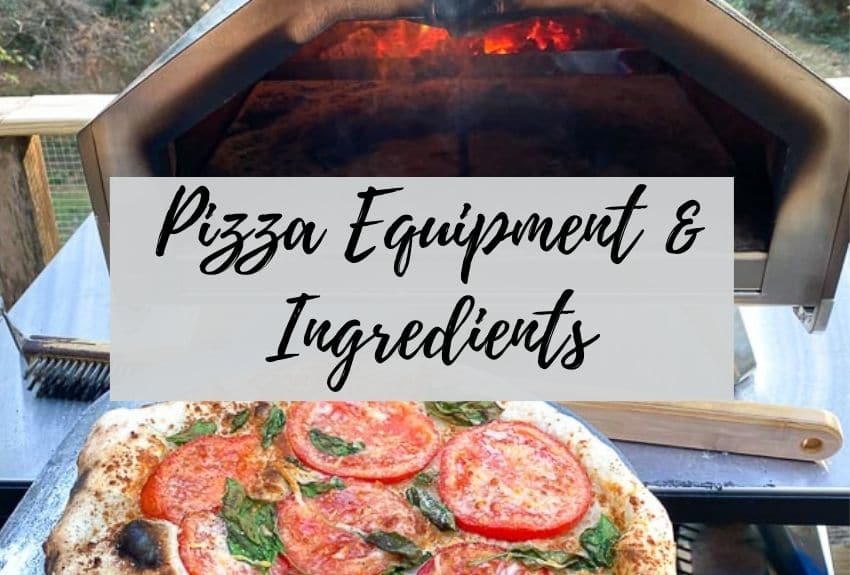
You can find all of our recommended pizza equipment and ingredients gathered together here in our shop!



I made this yesterday and it came out SO WELL! I couldn’t find xanthan gum at my store, and I needed to make the pizza that day, so I made it without and it turned out pretty well. The flour mix I used was Namaste brand “Organic Perfect Flour Blend” from Costco. It may be that this flour has more binding ingredients that most gluten free flour?
The taste was GREAT and it wasn’t crumbly at all. It really held its shape. My husband and our friend tried it and they both said that the taste was pretty much the same as their wheat pizza, the only difference was that this pizza was a bit chewier.
Speaking of which, my only complaint was that it was a little too chewy. It wasn’t so chewy that it was gross, but it did make my jaw sore after a few bites (disclaimer: I clench my teeth, so I’m more sensitive to chewy foods to begin with). I wonder if it’s because I over mixed the dough? I had a hard time understanding the directions on when to stop mixing, so some clarification would be helpful! After I initially mixed it it didn’t seem to change texture, so I just kept mixing it until I was worried I had maybe mixed it too much. Is is better to over or under mix it?
Hi Camila, so glad you enjoyed the recipe. I really cannot comment on the results you got as the flour choice is everything in these pizza recipes and you used a different flour blend and did not use the xanthan gum required. In essence, you did not actually make our recipe. I am so glad did work for you! I would suggest making our recipe as described as it does not have the overly chewy texture you describe.
Well I certainly wouldn’t categorize this recipe as “easy”. Other than the fact it is incredibly long, it is also quite involved and time consuming. I started around 5:30pm and wasn’t able to eat until almost 8. I also agree with the other commenter that it is hard to tell when to stop mixing as the dough is very sticky no matter how long you seem to mix. (I did use the xanthan gum and the Bob’s Red Mill Mix). Some of the other directions are quite confusing. I make pizza dough on a regular basis and was able to sort of use my instinct. I think if you are a beginner, you might have trouble with this recipe.
Other than all that, it did have pretty good flavor and the advice to cook it more than you think was correct. But I’m not sure it was worth all the effort.
Hi Barb, I get what you are saying. That is why I tried to explain in the recipe that, “Our Easy Low FODMAP Pizza recipe is the simplest and most straight forward of our pizza recipes” and added the Q&A: “This Seems Hard! Can’t It Be Simpler? If you want simpler, we suggest buying a premade crust. None of the “simpler” recipes we found were up to our standard. I tried many, including boxed mixes by reputable brands. I was not impressed and didn’t think they were worth my time. This recipe is as stripped down as we could make it. Please note that most of the time is hands-off time, allowing the dough to rise.” I agree with you that it is not quick, which is why it does not have our “Quick” icon designation. It was the “easiest” pizza we developed that we thought gave decent enough results. Personally I much prefer the 2.0 version.
Well then perhaps calling it easy in the title isn’t the best way to describe it. Just kind of misleading for people who do a search in my opinion