The Easiest Preserve Ever
Have you heard of preserved lemons? They are one of those condiments that I had heard about and even eaten many times way before I made them myself. As adventurous and adept as I am in the kitchen, I just assumed they would be hard to make.
I was so sure of myself that I never even acquainted myself with a recipe.
Silly me.
I have no one to blame but myself for the fact that I missed years – decades! – of having this super easy condiment around that can enliven everything from classic Moroccan chicken dishes to last-minute-thrown-together pasta.
So, How Easy Is It?
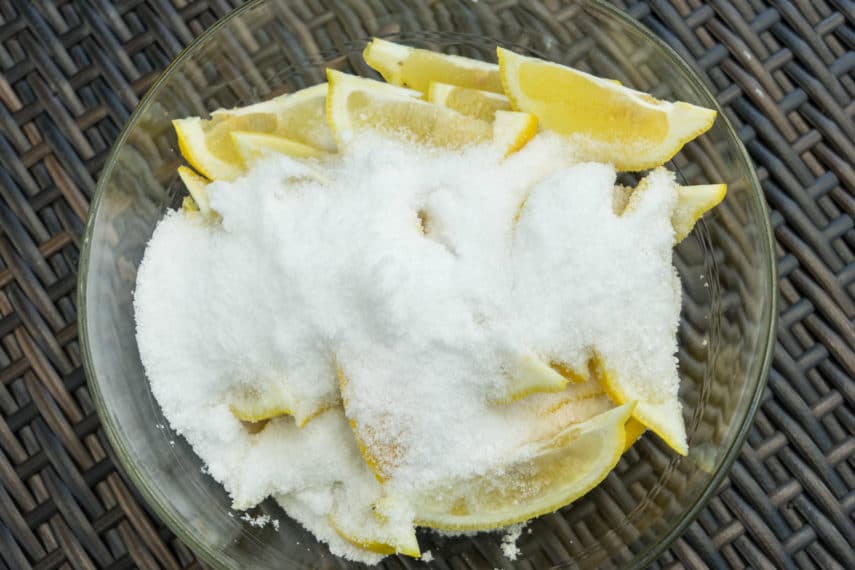
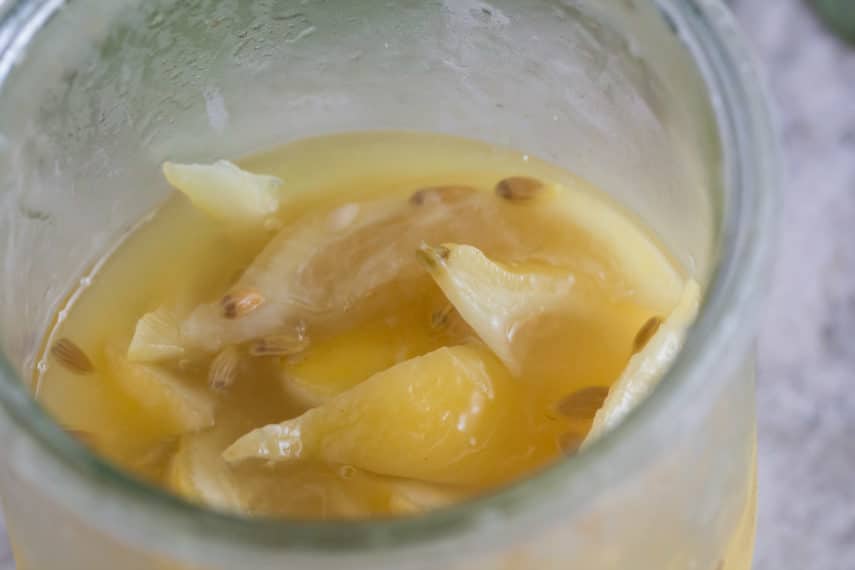
Lemons, salt and lemon juice layered in a jar. That’s it!
Enter Paula
Paula Wolfert is my go-to source for Moroccan and North African foods – as well as a general all-around encyclopedia for Mediterranean cooking. It is her Preserved Lemon recipe that I follow; it is elegant, authentic simplicity.
Note that she mentions that a white lacy mold could appear on your lemons after extended storage, which she does at room temperature. She recommends simply peeling it away and using the lemons.
I prefer to refrigerate the condiment and I have never had an issue with any mold developing.
Lemons, Lemons, Lemons
Yes, this recipe is all about whole lemons and also their juice. Smaller lemons might only yield 2 tablespoons of juice while a large juicy sucker (get it?) might give you ¼ cup (60 ml), hence I have been generous in recommending how many lemons to buy; you do not want to be caught short.
And you can always use some fresh lemon juice around – even to just make lemonade.
Preserved Lemons
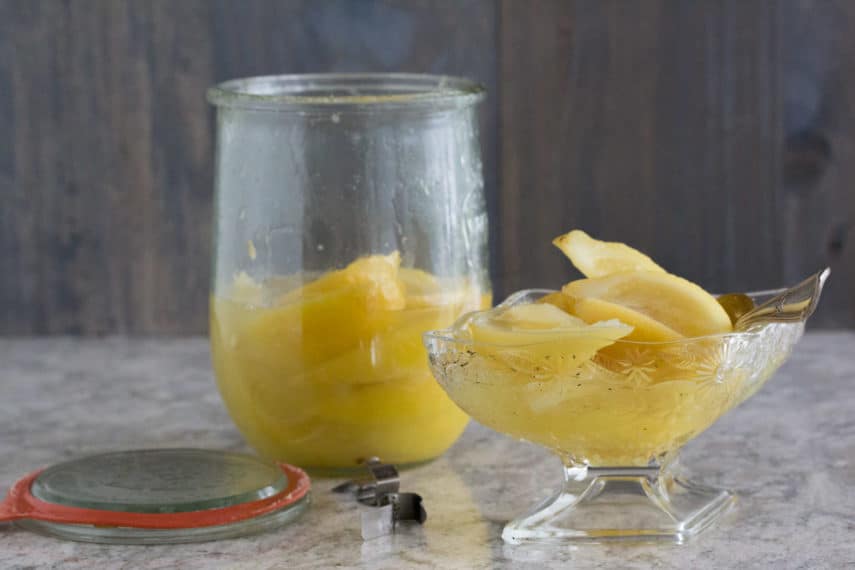
Preserved lemons are a classic Moroccan condiment. Easy to make, packed with flavor and they can be stored for a very long time.
Low FODMAP Serving Size Info: Makes 32 preserved lemon wedges; serving size 1 wedge
Ingredients:
- 12 large heavy-for-their-size lemons, washed and dried, divided
- 2/3 cup kosher salt such as Diamond Crystal
Preparation:
-
Pour boiling water into a 1-quart or 1-liter glass jar with lid. Immerse lid, too. Drain and air dry. We used a Weck 1 liter tulip shaped jar.
-
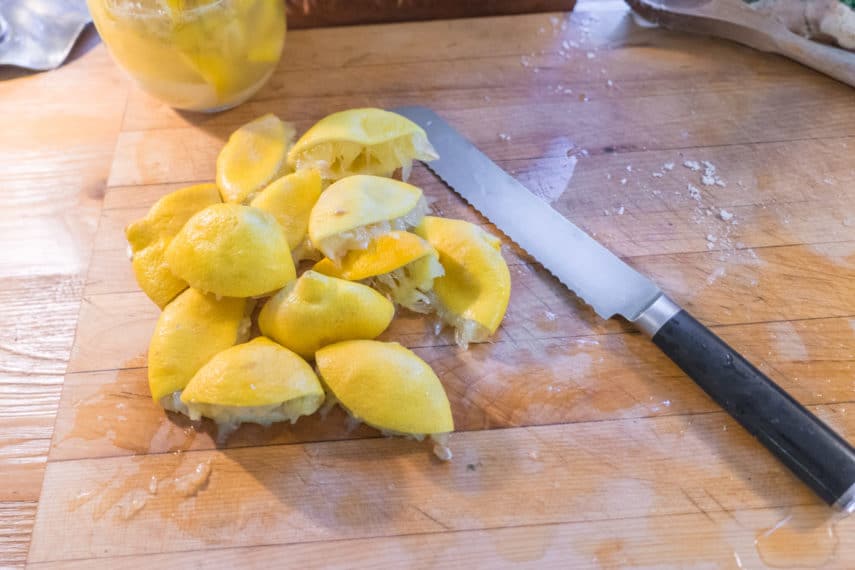
Squeeze the juice from up to 8 of the lemons, measuring out 1 ½ cups (360 ml) and set aside. (If you have extra juice you can use it for another use or freeze in ice cube trays). Use a hand-held reamer for best results!
-
Cut 4 of the lemons into 8 wedges, keeping seeds intact. Remember, depending on how many lemons you used for juice, you might be left with an intact lemon or two for another use.
-
Place a few lemon wedges in the clean jar, cover with salt and repeat layering all of the lemon wedges alternately with the salt, finishing with a layer of salt. Press down gently to lightly compress. Pour lemon juice into jar to cover. The lemons should be submerged. Cover the jar and let it sit at room temperature for 7 days, inverting the jar a few times every day to keep the lemons, salt and juice well combined.
-
Many recipes suggest storing at room temperature as with the high salt content the mixture is safely “preserved”. That said, I find no downside to refrigerating the jar after the curing period. They last a long time. I have had jars last for months, but use your judgment. Three months is a conservative estimate although some cooks say a year or more!
-
To use, simply rinse the lemon wedges gently, scrape away seeds and add to your chosen dishes. I know that sounds persnickety, but the seeds fall away almost by themselves and the process goes very quickly.
Notes:
Tips
- We like to use an old-fashioned wooden citrus reamer. These tools are cheap and work very well. You can pick them up for a few dollars and they will last a lifetime.
- Some recipes suggest removing the seeds, but I do not find that it is necessary. I do remove them after curing and before using. When you rinse them gently before incorporating into your recipes, the seeds separate easily.
Nutrition
All nutritional information is based on third-party calculations and should be considered estimates. Actual nutritional content will vary with brands used, measuring methods, portion sizes and more. For a more detailed explanation, please read our article Understanding The Nutrition Panel Within Our Recipes.
Low FODMAP Recipes Created Just For You!
We take low FODMAP recipes seriously at FODMAP Everyday®. That’s why Dédé oversees our Test Kitchen and makes sure that each and every recipe works – and is low FODMAP following the most up-to-date science.
Read our article How Are Low FODMAP Recipes Created? for more in-depth information.
Rest assured that you will not find more trustworthy or delicious low FODMAP recipes anywhere – several hundred and counting.
FODMAP Everyday® Low FODMAP Recipes At A Glance:
- FODMAP Everyday® is accredited by FODMAP Friendly.
- Dédé is low FODMAP trained by Monash University.
- Dédé is also individual accredited as a recipe developer and FODMAP educator by FODMAP Friendly.
- We maintain our own professional Test Kitchen.
- Dédé has over 30 years of professional recipe development experience, including her stint as a Contributing Editor for Bon Appetit magazine and has written 17 cookbooks.
Come Join Our Low FODMAP Recipe Community!
Use Our Exclusive Recipe Filter To Find The Low FODMAP Recipe You Are Looking For Today!
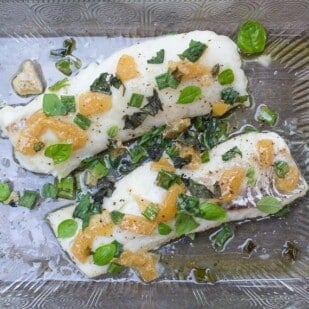





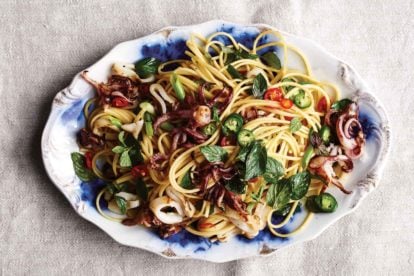
We use the salty brine in other recipes when salt is needed. It adds a nice lemony salty flavor. Also great in homemade salad dressings.
I LOVE this tweak!!!! Thank you for letting us know.