French Fries & Will Power
I was working on a recipe for FODY Foods on oven-baked fries and I re-fell in love with them.
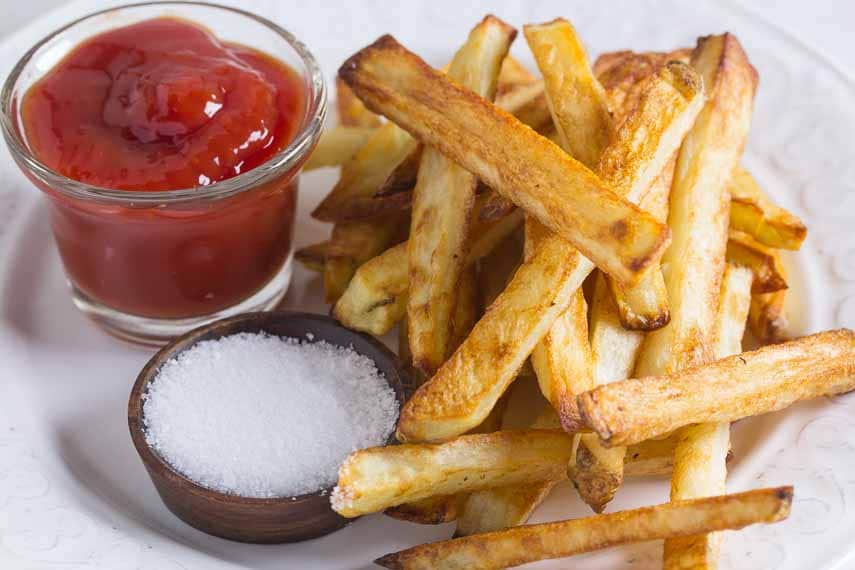
I have a love/hate relationship with fries. Typically I eat them made by someone else – usually at a restaurant that is known for their fries because if I am going to spend the calories, let alone the money, they better be really good. And of course, these are always the classic deep-fried kind.
My number one French fry pet peeve is when they end up being pale, flabby and tasteless. And yet, since I ordered them and have very little willpower, I end up eating them anyway and then I wind up mad at myself and the restaurant. Not a good combination.
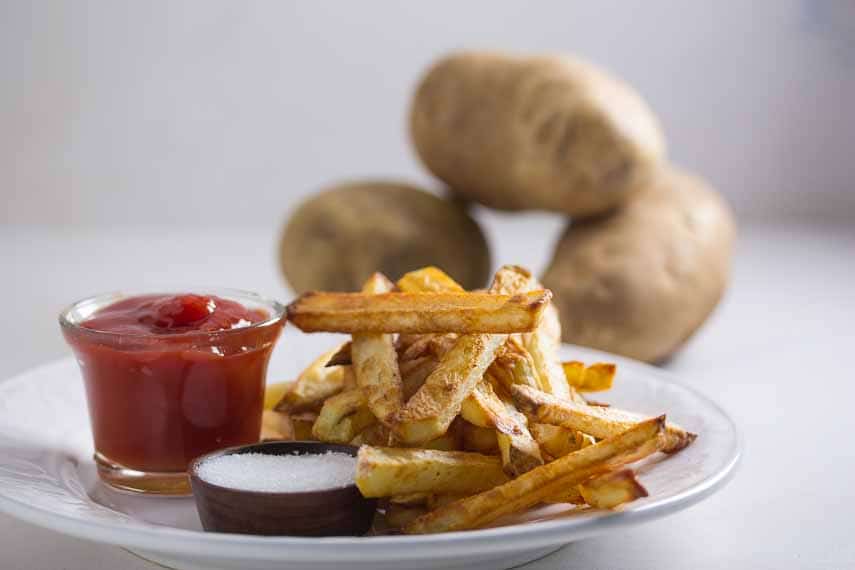
Fry Them Yourself! Maybe…
So one solution is to make them myself, at home. But there are a few problems with that. First of all, deep-frying anything is a bit of a to-do. It isn’t that I won’t do it, but it isn’t something I will just whip up at last moment. Also, there is the commitment.
You have to have a good quantity of high flash-point oil around or go shop for it and pouring that oil to a depth of several inches into a pot or fryer means that you have to reckon with the fact that you are preparing a pretty fat laden food. Now, remember, fat does not contain FODMAPs, so that isn’t the problem. But many people with IBS react to high fat foods for other reasons and also, many of us are trying not to eat deep-fried foods for caloric and heart-health reasons.
So Can I Have French Fries on the Low FODMAP Diet?
The good news is that you can have fries on the low FODMAP diet and oven-baked are probably the best approach. And when I was recently toying with them, as I said, I fell back in love with them. Previously I hadn’t had such success with the oven-baked technique.
Whether they are fried or baked I hold them to the same standard. They have to be tender inside and crispy outside, take on an enticing golden brown color and hold their shape. When I pick one up to dip in ketchup (or whatever; more on that later) they are not allowed to flop over. Floppy French fries are not allowed within the border of my household or the Test Kitchen and certainly not on my plate!
Every Choice Matters
I thought long and hard about how I had made oven-baked fries before and what I might have done that yielded lackluster results. Below you will find my tips for the best ever oven-baked fries.
Pick the Right Potato: Always use a starchy, russet potato; this is the best and only choice. Sure, I will use Yukon Gold potatoes or tiny, new red potatoes or other waxy potatoes at times to create roasted potatoes – but not for fries. Stick with russets.
To Peel or Not to Peel: This decision is related to the bullet point below on size and shape. You could leave a little skin on the pointed ends of the potatoes, but I peel the skin away. Russet potatoes do not have a tender skin.
The Right Size: Now stick with me here because I am about to get really specific in my descriptions. You want to start with medium sized russet potatoes for a few reasons. They should weigh about 8 to 10 ounces each. Potatoes that are as small as 6 ounces won’t give you the length you need to have a satisfying size fry to grip and dip. Giant potatoes that can weigh up to a pound will give you overly long fries that are bound to flop. Sure, you could cut the raw fries in half, but then if you were trying to leave some skin on the ends, that won’t work.
Cut The Right Shape: Since I am writing this article I get to dictate what constitutes the perfect shape French fry and it is a 3/8-inch (1 cm) square, classic French fry shape, about 4 ½ (11 cm) inches long. Why? Because it gives you the best juxtaposition of tender, starchy insides to crispy outsides. Tiny, thin matchstick fries are easy to crisp up, but they are all crisp, and you miss out on the meaty middle.
Steak fries, which are larger wedges, have too much middle and not enough exterior crunch in proportion. This is all just my opinion, of course. You could alter this recipe to a different size and shape spud, but I aint vouching for the results.
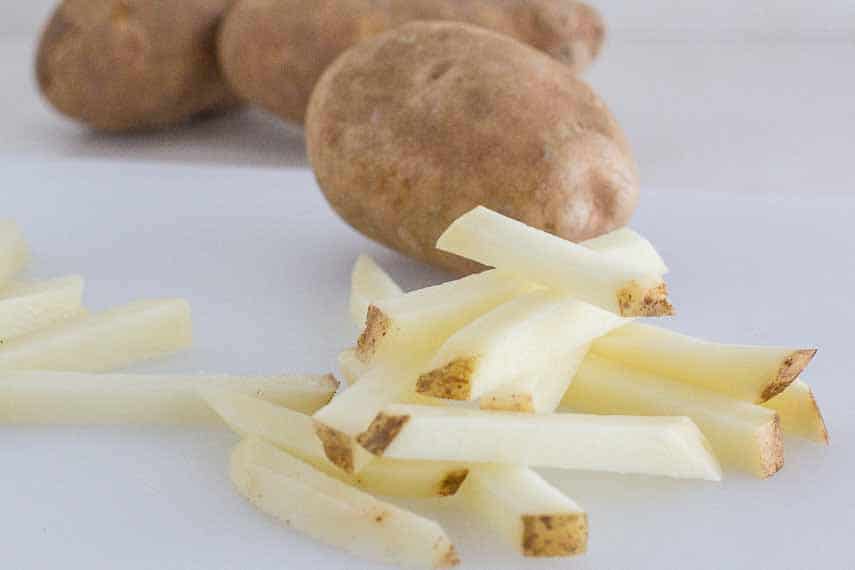
Take your peeled potato (or have a little skin left on the pointy ends as seen above) and cut ⅜ inch (1 cm) slabs lengthwise. (For some math help: this is a size smack dab in-between 1/4-inch and 1/2-inch (6mm and 12 mm). Stack a few of these slabs on top of one another at a time and cut into ⅜ inch (1 cm) sticks, or French fry shapes. Below they are completely naked, without any skin.
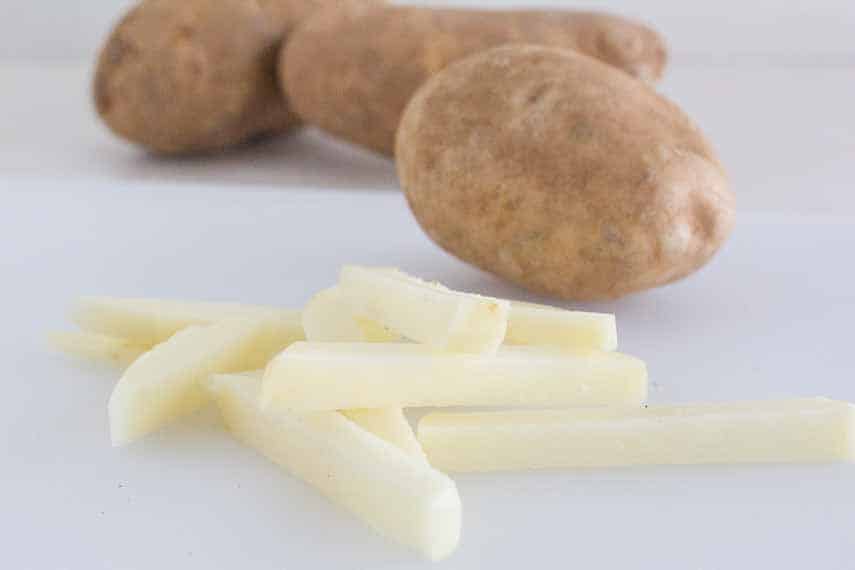
PS: don’t worry about the length. If you have 8 to 10 ounce (225g to 280 g) potatoes, your potato length is going to be fine.
To Soak or Not to Soak: Maybe you have seen recipes that suggest soaking your sliced potatoes in water. The idea is that some starch will be released into the water, ultimately creating a crisper fry – when you fry them. But we are baking. I have done it both ways.
For these oven fries, don’t bother. It doesn’t make enough of a difference for me to recommend and you will save time by skipping this step.
Equipment: Nothing fancy here. You need two sturdy rimmed baking sheet pans, but not all pans are alike and a flimsy pan will not give you the results you are looking for. Oven-baked fries depend on high heat and that involves a 450°F (230°C) oven, but they also need a pan that has good heat conductivity. I highly recommend that you use commercial grade “half-sheet pans”.
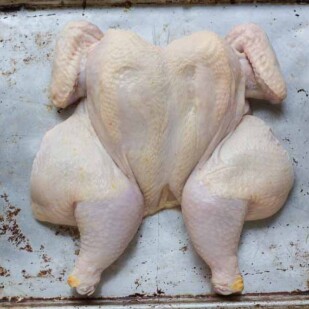
That’s what they are called and they are very sturdy aluminum, conduct heat very well, do not warp, and will last a lifetime. I have some that have followed me from one commercial kitchen to another, spanning decades of use. And they are incredibly versatile: we use them for roasted potatoes, roasted vegetables, spatchcock chicken dishes, large batch chicken part recipes, cooking winter squash, jelly-roll cakes, cookies, large batch brownies and bars – I could go on and on.
It is one of the most versatile pieces of equipment we use in the Test Kitchen. They are inexpensive and you need them.
Prepping the Pan: You could place the fries directly on the pan but they are prone to sticking, which is odd, since they are coated with oil, but they do. I used to line with aluminum foil because everyone usually has it around, and you can, but I find best results with using parchment paper. The fries tend to stick less and brown best. And don’t worry about it burning.
It gets a little toasty, but it will be fine. There’s a reason parchment paper is used in every commercial kitchen for a variety of applications; it rocks.
Placement Counts: When placing the fries on your pans you must – you must! – arrange them so that they are not touching one another. This is extremely important for the fries to crisp up properly. Touching fries = flabby fries and you know how I feel about that!
Crank it Up: You will note that I call for an oven temperature of 450°F. And it does need to be that hot, so do yourself and your fries a favor and make sure your oven is actually that temperature by double-checking with an oven thermometer.
Flipping Fries & Rotating Pans: During roasting you need to flip the fries over once halfway through and you need to rotate the pans for best results. Flipping them is a tiny pain in the butt because there are a lot of them and if you don’t flip them over, they will not crisp properly. But you have to do it. Sometimes I use tongs and sometimes I use a sturdy metal pancake-turner style spatula. But you gotta do it.
When the halfway time is up, open the oven and flip the fries over as quickly as possible to reduce loss of heat. If you have plenty of heat-proof counter space near the stove, bring the pans out of the oven, close the door quickly, do your flipping out of the oven and get the fries back in.
Or, open the oven, pull out the racks and get flipping with the door open – but quickly! And while you are at it, switch the pans from front to back and from upper rack to lower and vice versa. This ensures that they get exposed as evenly as possible to the high heat.
Assemble Your Accompaniments: Ketchup? Yes. Salsa? Why not? Mayonnaise or flavored mayonnaise (like aioli)? Sure! Malt vinegar? Love it. What condiments you offer for dipping is up to you but we want to encourage you to think beyond ketchup. In fact, in our recipe below you will see some options and variations that we are quite enamored of – and we even like dipping them in our Low FODMAP Sauce!
And be sure to read our article on the Ultimate Guide to Low FODMAP Condiments. Did you know that you do not have to buy special low FODMAP ketchup? You don’t!
Fries are Ready Now!: Here’s the deal. Even if you follow every single step and create the absolutely best oven-baked fries, if you don’t serve them right away all your attention to detail will be for naught. Fries wait for no one. Serve them right when tSteak hey come out of the oven and be prepared to be thrilled. You might never need to make deep-fried again.
Check out our recipe for the The Best Oven-Baked Fries.


I don’t see an amount of oil or a description of how to coat the potatoes. How much oil and what technique please?
The actual recipe is linked at the bottom. This is an accompanying article. Here you go.