Low FODMAP Pumpkin Layer Cake
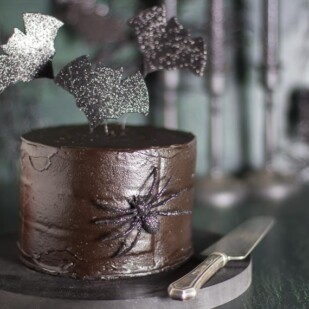
BOO! This Low FODMAP Pumpkin Layer Cake with Black Cocoa Frosting is perfect for Halloween, or anytime during the fall and winter months when you want a dramatic triple-layer, tender pumpkin cake schmeared with the darkest, blackest, most chocolaty frosting.
Pumpkin Spice & Everything Nice
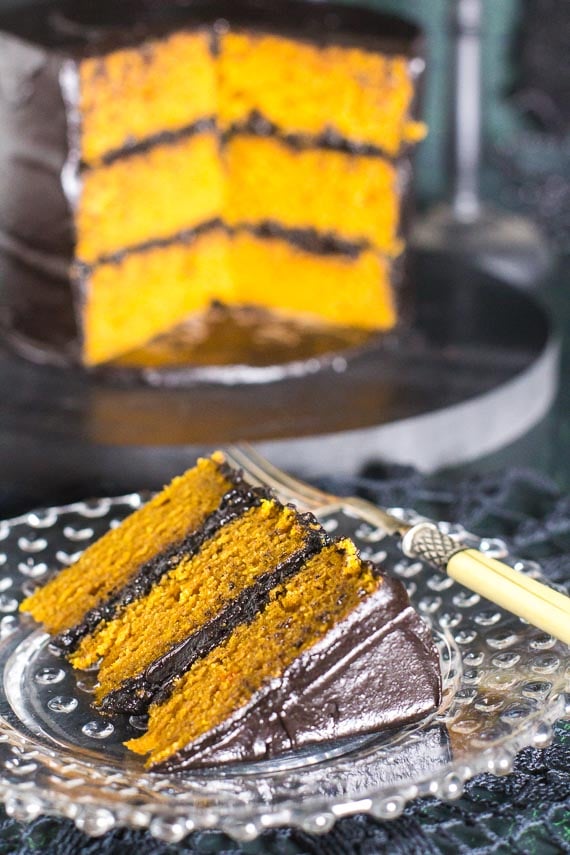
This is a tall dramatic cake – 3-layers! You will need three 6-inch (15 cm) cake pans. The cake batter is very moist and tender with a fair amount of canned pumpkin and it is gently spiced with ground cinnamon and ginger. The combo of white granulated sugar and light brown sugar, along with the pumpkin, keeps the cake nice and orange in color. All the better to peek through the black cocoa frosting.
Black Cocoa?
Don’t you love the look of our black cocoa frosting? It isn’t created with black food coloring. It is made with black cocoa!
You know the color of Oreos? That’s the color of black cocoa, which will most likely be a specialty pre-order item for you, so plan accordingly. I get mine from King Arthur flour. It is a Dutch-processed cocoa with an extra deep, dark color and flavor.
You can read more in our article, All About Cocoa.
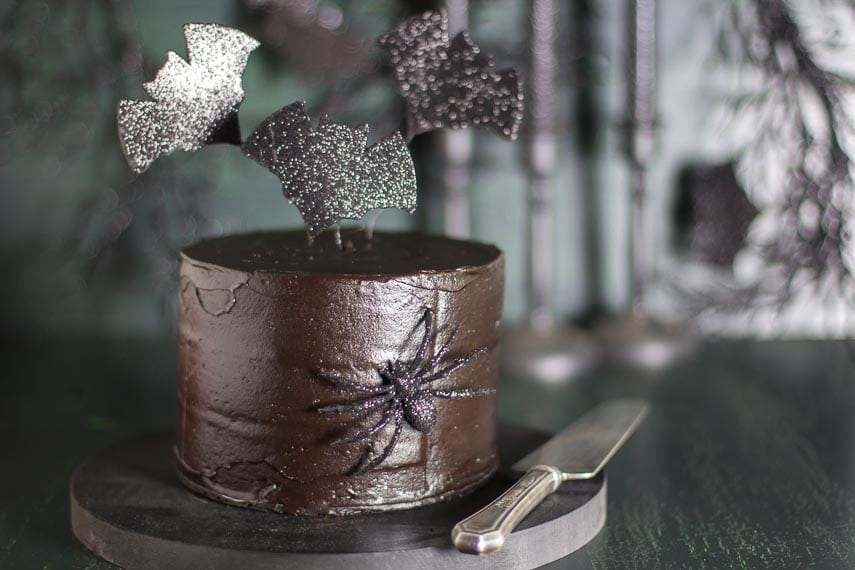
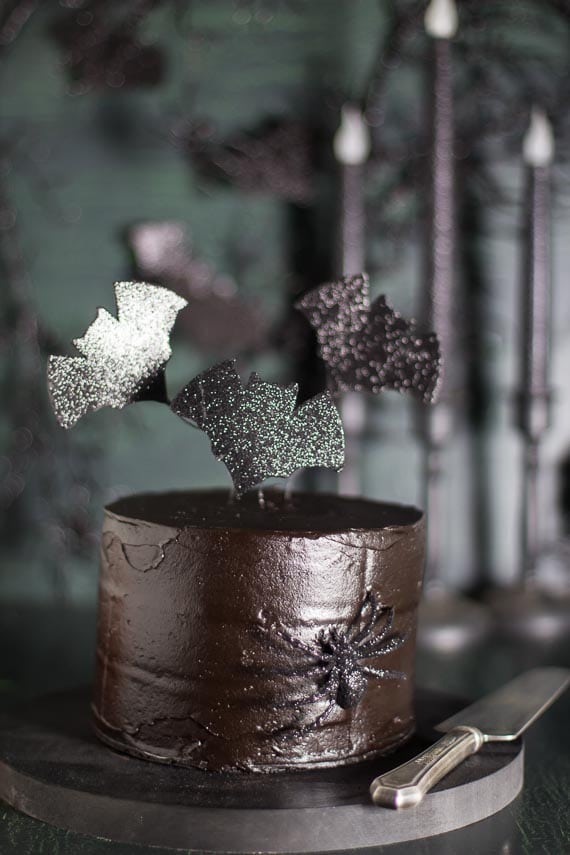
You don’t have to decorate your Low FODMAP Pumpkin Layer Cake with Black Cocoa Frosting with sparkly black bats or creepy rubber spiders – but seriously, why not?
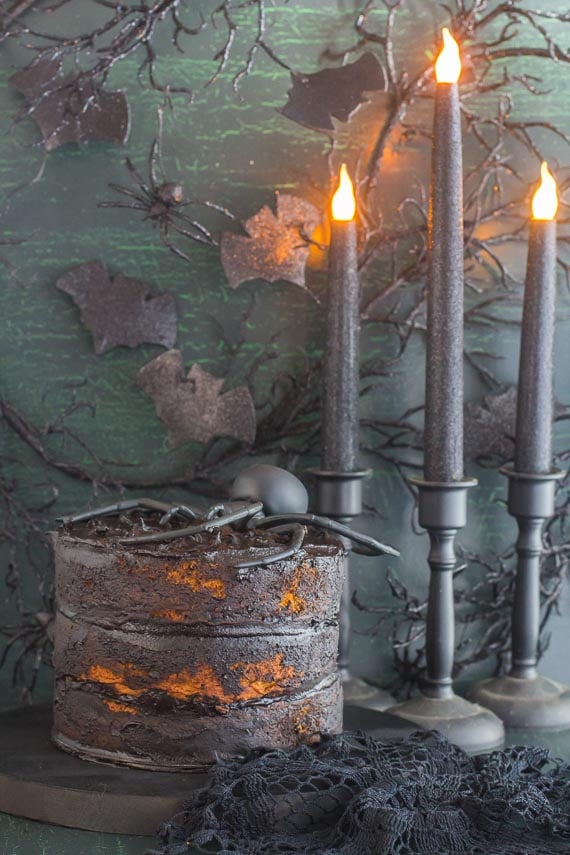
You also have a choice of how you apply the frosting. Either schmear it on as seen here below, which creates an “undone” look…
Or, apply it more thickly and conventionally as seen in this other approach, below and in the main images up top.
Either way, you are going to love this combo of pumpkin and dark cocoa.
For all of you pumpkin lovers, be sure to check out our:
- Low FODMAP Chocolate Pumpkin Marble Cake
- Pumpkin Cornbread
- Pumpkin Biscuits
- Low FODMAP Pumpkin Cranberry Oat Breakfast Cookies
- Smoky Spicy Pumpkin Soup
- Pumpkin Chiffon Pie
- Dairy-Free Gluten-Free Pumpkin Streusel Muffins
- Pumpkin Cranberry Scones
- Pumpkin Cheesecake
- Maple Pumpkin Spice Granola
Low FODMAP Pumpkin Layer Cake with Black Cocoa Frosting
Our Low FODMAP Pumpkin Layer Cake is easy to make, and yields dramatic results. Make sure to read the recipe through before starting. You might need to order the black cocoa ahead of time.
Ingredients:
Pumpkin Layer Cake:
- 2 cups (290 g) low FODMAP gluten-free all-purpose flour, such as Bob’s Red Mill 1 to 1 Gluten Free Baking Flour
- 2 teaspoons baking powder; use gluten-free if following a gluten-free diet
- 1 teaspoon baking soda
- ¾ teaspoon salt
- 1, 15- ounce (425 g) can of pure pumpkin purée, such as Libby’s
- 3/4 cup (180 ml) vegetable oil such as canola, rice bran or sunflower
- ¾ cup (149 g) sugar
- 1/2 cup (107 g) firmly packed light brown sugar
- 4 large eggs, at room temperature
- 1 1/2 teaspoon cinnamon
- 1 1/4 teaspoons ground ginger
- 1 teaspoon vanilla extract
Black Cocoa Frosting:
- ½ cup (113 g) unsalted butter, melted
- 2/3 cup (62 g) sifted black cocoa
- 3 cups (270 g) sifted confectioners’ sugar
- 3 to 6 tablespoons lactose-free whole milk
- 1 teaspoon vanilla extract
Preparation:
-
Make the Cake: Position rack in center of oven. Preheat oven to 350°F (180°C). Coat the inside of a three, 6-inch (15 cbaking pans with nonstick spray, line with parchment paper, then spritz the paper, too. Set aside.
-
In a large bowl, whisk together the flour, baking powder, baking soda and salt to aerate and combine. Make a well in the center of the dry mixture and set aside.
-
In a separate bowl, whisk together the oil, pumpkin, sugar, brown sugar, eggs, cinnamon, ground ginger and vanilla until well blended. Scrape this pumpkin mixture over the dry and whisk everything together very well. Scrape into prepared pans, dividing evenly, leveling the top. Batter will be thick.
-
Bake for about 30 to 40 minutes or until a toothpick inserted in the center tests clean. Cool pans on rack for about 5 minutes or until just warm. Unmold onto rack, remove parchment and cool completely.
-
Make the Frosting: Pour the melted butter into a mixing bowl and beat in the cocoa on medium speed using an electric mixer until combined. Slowly beat in confectioners’ sugar alternately with 3 tablespoons of milk. Keep beating until super silky smooth, scraping down bowl as needed. Beat in vanilla and beat in additional milk if needed to make a smooth, spreadable frosting.
-
Assembly: Trim cake layers if needed to create level layers. Place one cake layer, top side up, on display plate and frost the top. Place second cake layer, top side up down top of frosting and frost that layer’s top as well. Place final layer bottom side up on top of your stacked layers and frost the top and sides either generously with the icing for a smooth look, or use less icing for a schmeared-on look allowing the orange cake to show through. An icing spatula will help make the process easy in either case. Cake is ready to serve or may be stored under a cake dome at room temperature for up to 2 days.
Notes:
Tips
- A cake decorating turntable and a few different icing spatulas of various shapes and sizes will make decorating any cake easier and help you achieve professional looking results. They are not necessary, but if you like to bake and decorate cakes, I highly suggest looking into these tools.
- I sourced many of the decorations that you see in the images at the dollar store! Always a great source for holiday décor.
Nutrition
All nutritional information is based on third-party calculations and should be considered estimates. Actual nutritional content will vary with brands used, measuring methods, portion sizes and more. For a more detailed explanation, please read our article Understanding The Nutrition Panel Within Our Recipes.
